Red gates and quiet bamboo? Yes, please.
This private Fushimi Inari photoshoot pairs Kyoto’s most famous shrine with a quieter bamboo grove stop, so you get two very different looks in one session. You’ll move through iconic red torii scenery, but you also get help finding calmer angles where your photos don’t look like everyone else’s.
Two things I really like: the pose guidance and natural-candid approach, plus the fact you leave with a ready-to-post set of edited images delivered via Google Drive in 1–3 days. The pro touch is practical here—you’re paying for someone to manage timing, composition, and real-life crowds.
One thing to consider: the experience depends on good weather, and the whole shoot is about an hour, so it’s not the same as free roaming at your own pace.
In This Review
- Key highlights you’ll care about
- How Fushimi Inari and bamboo become a winning photo combo
- The 1-hour plan: what actually happens on the ground
- Meeting Hugh Dornan and getting comfortable fast
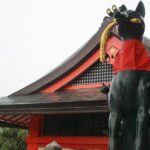
- Stop 1: the shrine approach, fox statues, and guided candid poses
- Stop 2: a quieter bamboo grove and less-common red torii angles
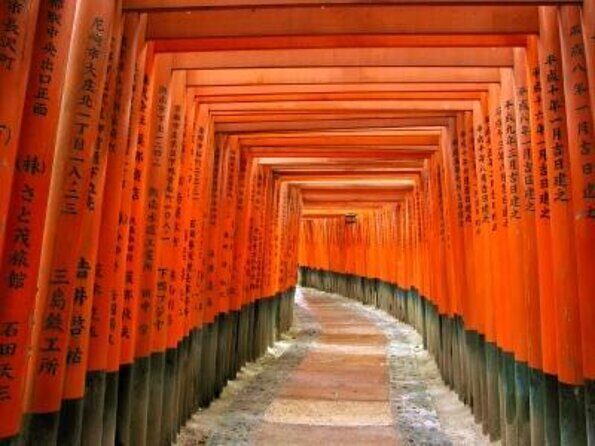
- Stop 3: the famous red torii gates for your iconic photos
- Your photo delivery: edited JPEGs, quick turnaround, and optional RAW
- Price and value: what you’re paying for (and what you’re not)
- Who this photoshoot suits best in Kyoto
- Extra touches that can change your photos
- Practical tips so your Fushimi Inari photos look like you
- Should you book a guided photoshoot here?
- FAQ
- How long is the photoshoot?
- Where do we meet for the tour?
- What photos will I receive after the shoot?
- Can I get RAW files?
- Is a kimono rental included?
- What if the weather is bad?
- Is this a private session?
Key highlights you’ll care about
- Private, exclusive booking for just your group (solo, couples, or families)
- Fushimi Inari + secret bamboo grove in one controlled, guided route
- 50+ edited JPEGs solo or 60+ for couples, delivered 1–3 days later
- Hugh Dornan’s flexibility with timing when crowds or delays happen
- Free vintage fans and umbrellas if you request them
- Optional RAW files available for an extra 5000 yen
How Fushimi Inari and bamboo become a winning photo combo
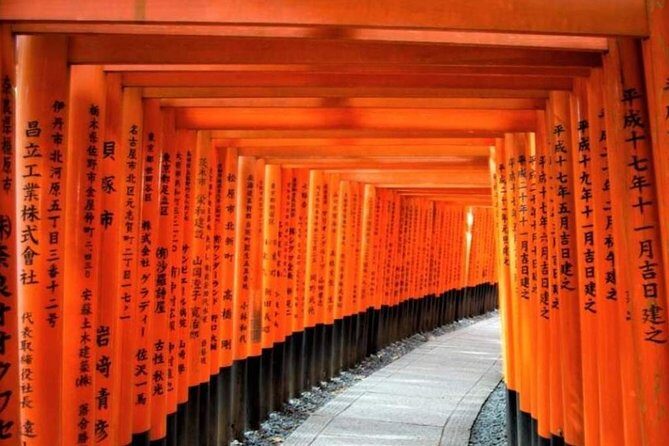
Fushimi Inari Shrine is one of Kyoto’s most photographed places for a reason. Those red torii gates create instant rhythm in your pictures, and the fox statues and shrine details give you variety even within the same area.
But the issue is always the same: lots of people, lots of bodies, lots of the same “standing in a crowd” look. That’s where this photoshoot earns its keep. You’re not just wandering. You’re being guided to better photo moments and calmer pockets of space, while still hitting the iconic torii sequence.
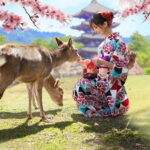
Then you add the second location: a bamboo grove described as secret and less known locally. It changes the whole mood. You go from bright red structure and gold shrine touches to a softer, peaceful bamboo setting with lanterns and red torii tones mixed in. In one hour, you can end up with images that feel like two different Kyoto days.
A few more Kyoto tours and experiences worth a look

The 1-hour plan: what actually happens on the ground
The session runs about 60 minutes and is designed as a tight, photo-first loop. You meet at Fushimi-Inari Station (with the option to meet at JR or Keihan Fushimi Inari stations), and the activity ends back at that same meeting point.
Because it’s a private shoot, you’re not competing with other groups for your photographer’s attention. You can also ask for specific vibe ideas on the spot—solo, couple, family, pregnancy announcement, or just “we want natural photos that look like us.”
Also, you get a mobile ticket, and confirmation comes within 48 hours of booking (subject to availability). If you like knowing your plan won’t fall apart last minute, this setup is reassuring.
Meeting Hugh Dornan and getting comfortable fast
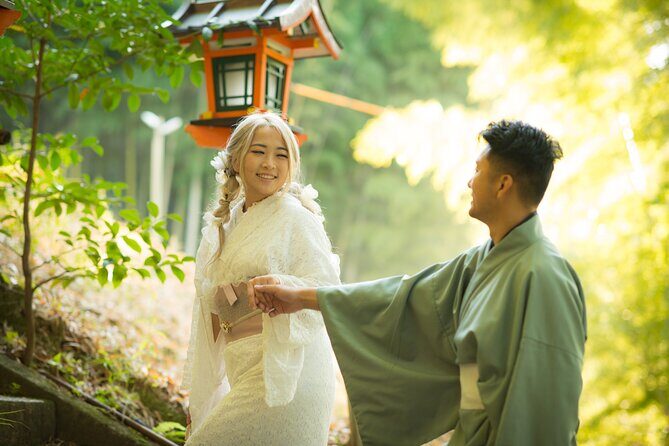
The photographer guiding you is Hugh Dornan (his Instagram is hugh_dornan_photography). In real photo shoots, the hardest part is usually not the scenery—it’s the awkward moments when you don’t know where to look, what to do with your hands, or how to stand without looking stiff.
From past sessions, Hugh’s style is patient and practical. People note he’s quick to communicate, and he’s also willing to adjust the timing when crowds are thick. If you run late, the approach is to extend the session when possible rather than rushing you through a bad set of photos.
And there’s a very useful detail: Hugh knows enough Japanese to ask people politely for space. That matters at Fushimi Inari, where crowds can spill into every possible frame. If you want photos where you’re the main subject and not stuck behind strangers’ heads, this kind of real-world coordination is a big deal.
Stop 1: the shrine approach, fox statues, and guided candid poses
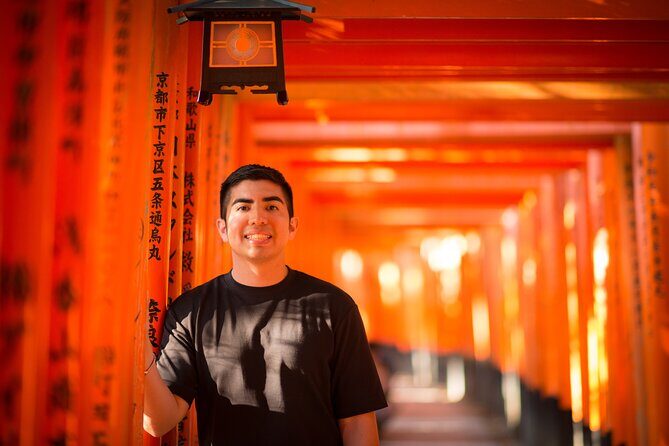
You start with the main shrine entrance area and move along the route while the photographer captures both posed and candid-style moments. You’ll get help with a range of expressions and body positions, and you’ll also get those in-between seconds where you’re actually reacting to the space.
This part of Fushimi Inari is all about mixing elements. The shrine architecture and the iconic fox statues give you visual anchors. The red-and-gold color cues help your photos feel distinctly Kyoto rather than generic temple snaps.
One practical benefit of having a guide here: you don’t need to guess where the best angles are. You follow the plan, and you get the shots that usually take visitors a full hour of wandering and refinding.
Possible drawback: if you expect a slow, contemplative walk like you’re sightseeing, this segment feels more like a guided shoot. The goal is better photos, which means you’ll move with purpose.
Stop 2: a quieter bamboo grove and less-common red torii angles
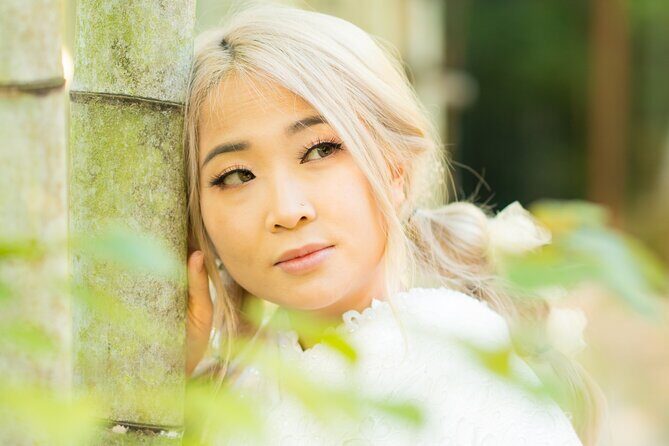
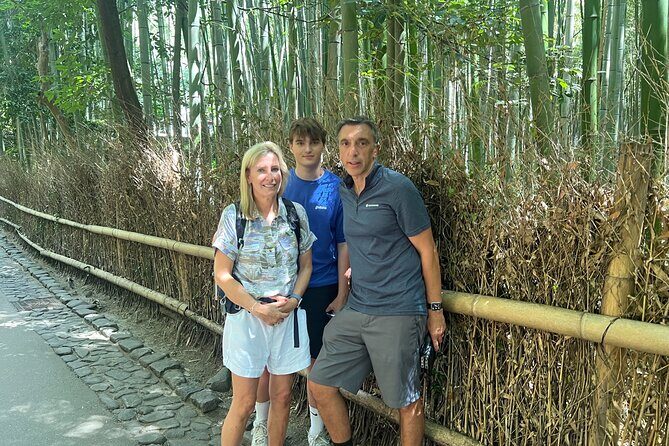
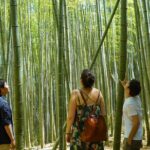
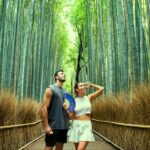
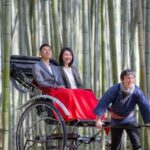
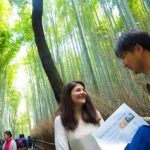
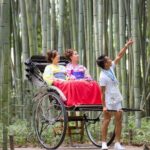
Then comes the contrast stop: the bamboo grove, described as a small peaceful place and less known even by locals. The point is not just “bamboo for the photos.” It’s that you get a different texture and atmosphere than the main shrine path.
In this bamboo area, you’re looking at vertical lines, soft greens (and the way light behaves under bamboo), plus red elements like lanterns and torii gates that can show up in the background. The photos tend to feel calmer and more cinematic because the composition is less dominated by sheer crowd density.
This is also where you’ll likely appreciate the photographer’s crowd-awareness. At Kyoto’s major attractions, the difference between a good photo and a frustrating one is often timing and placement. Instead of hoping you stumble into a clear shot, you’re directed to areas that reduce the visual noise.
One note for your expectations: you’re still shooting within a timed session. So yes, it’s peaceful compared to the main path, but it’s not a long nature hike. Think “short and beautiful photo stop,” not “all afternoon in the woods.”
A few more Kyoto tours and experiences worth a look


Stop 3: the famous red torii gates for your iconic photos
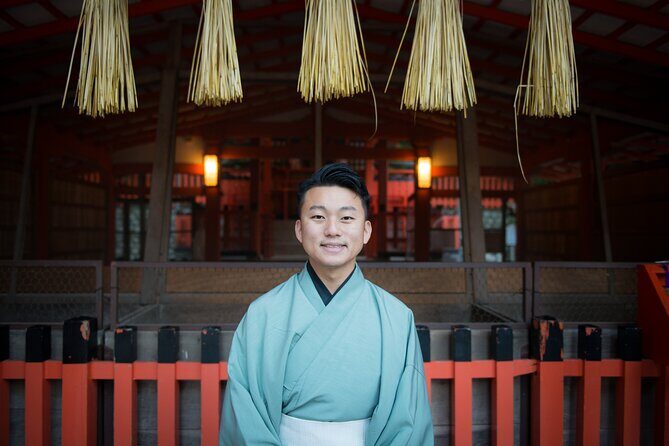
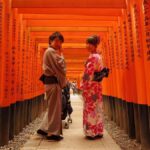
Finally, you move through the most famous part: the red torii gates in the main Fushimi Inari area. This is the part people come for, and it’s also the part where frames can get messy if you’re not strategic.
With a guided photoshoot, you get a sequence approach. You capture the entrance feel, then move toward more iconic torii views, and you end up with a mix of wider context shots and closer portraits where the gates frame you.
This is where a lot of the best results come from: coordination. Hugh manages the pace, directs your position relative to the torii lines, and keeps your photos feeling intentional. In crowd-heavy spots, that kind of direction can make your final set look way more polished than the usual “we were there” pictures.
If you’re imagining the classic torii gate photo with you centered and cleanly separated from the background, this stop is where you’ll aim for that payoff.
Your photo delivery: edited JPEGs, quick turnaround, and optional RAW
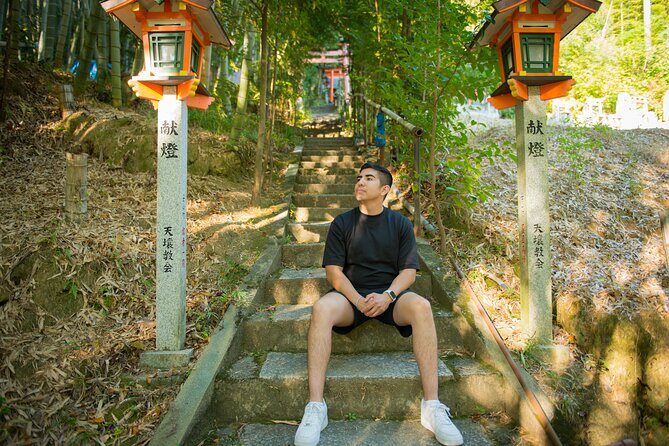
Here’s the part that really sells the value: what you get after. For solo shoots, you’ll receive 50 or more professionally edited photos as JPEGs. For couples (and groups), the package is 60+ edited shots.
The turnaround is also quick. Your images are edited and sent via Google Drive 1–3 days later. For travel photography, that speed is gold. You can post soon, share with family, and still enjoy the rest of your trip without waiting weeks.
Editing is included for the delivered images. That matters because it isn’t just about taking photos—it’s about cleaning up lighting, color, and the final look so your images match the vibe you came for.
And if you’re the type who likes to do your own work later, RAW files are available for an extra 5000 yen. That’s a nice option if you’re a serious photographer or you just want extra flexibility.
From the way sessions are described, Hugh also tries to add extras when possible. It might be small things like additional angles or extra frames that fit your story. Don’t assume you’ll always get the same exact add-ons, but the “try to add more” mindset is consistent.
Price and value: what you’re paying for (and what you’re not)
The price is $98.81 per person for about one hour, private. For Kyoto, this is in the category of “worth it if you want photos you’ll actually use,” not just a souvenir.
What you’re paying for is time plus competence:
- a guided route so you don’t waste your only hour
- pose direction so your photos look natural
- professional editing for a strong final result
- a crowd-smart approach so you’re not stuck waiting for empty space
Also, you’re not just buying a camera shutter moment. You’re buying an outcome: a set of usable, edited images that arrive quickly.
What’s not included:
- private transportation
- kimono rental
- RAW files unless you pay the extra 5000 yen
So if you’re hoping to roll directly from a kimono rental into the shoot, you’ll need to arrange that separately. And if you’re coming from outside central Kyoto, you’ll want to factor in public transport time to reach your meeting station smoothly.
Who this photoshoot suits best in Kyoto
This experience works especially well for people who want iconic Kyoto photos without turning their day into a stressful scavenger hunt.
It’s a smart pick if you’re:
- Solo and want portraits with direction (not just random phone snapshots)
- A couple after a mix of romance and candid motion
- A family wanting coordinated shots at a major attraction
- Someone doing a special moment, like a pregnancy announcement (Hugh has helped capture that kind of setup before)
It’s also ideal if you’re short on time. One hour can feel like a blink in Kyoto, but here it’s used tightly: entrance shrine details, bamboo contrast, and torii-gate icons.
Extra touches that can change your photos
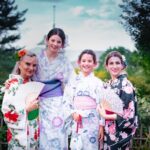
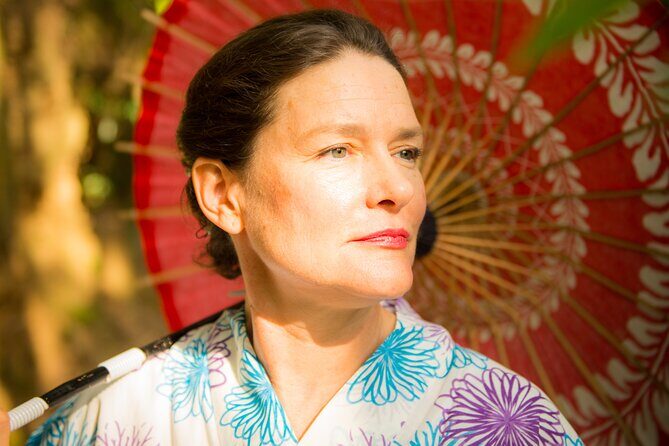
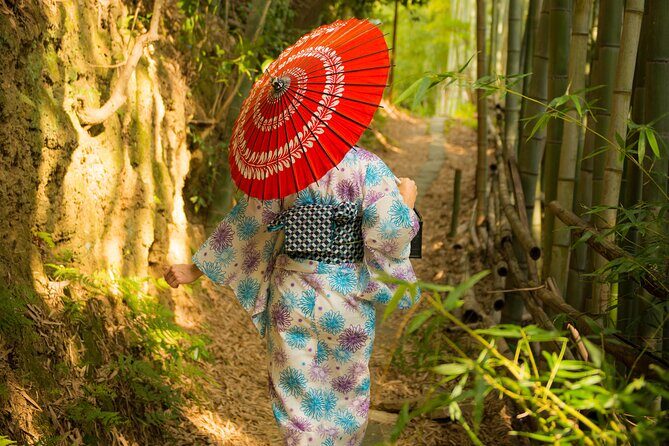
Two extras are mentioned clearly: vintage Japanese fans and umbrellas. They’re complimentary if you request them. Props can sound gimmicky, but in this setting they help with framing and posture. A fan gives you a hand position that looks natural in portraits. An umbrella can add a distinct texture and movement, especially when used in a guided pose rather than randomly held.
You should also think about clothing choices. The tour doesn’t provide kimono rental, so if you’re wearing a dress, casual outfit, or traditional wear you brought or rented elsewhere, the photoshoot direction helps make it look intentional.
Finally, timing is part of the value. People note Hugh adjusts timing to reduce crowds when possible. If you’re flexible with start time, it can make a noticeable difference in how clean your frames look.
Practical tips so your Fushimi Inari photos look like you
You’re going to get better results when you show up prepared, even with a great photographer.
First, arrive on time at the station meeting point. If you’re running late, the best-case scenario is that the photographer can extend when there’s time, but don’t count on unlimited flexibility.
Second, be ready to move. This is a guided photo loop, not a long hangout. Wear shoes you can walk in comfortably.
Third, think in terms of photo goals, not poses. For example: do you want classic torii gate shots, calmer bamboo contrast shots, or a mix of both? If you can describe your vibe in simple terms, Hugh can guide your body language and expression to match.
And if you want props like fans or umbrellas, request them ahead of time so you aren’t scrambling at the meeting spot.
Should you book a guided photoshoot here?
If you want Kyoto memories that look professionally done, I’d lean toward booking. Fushimi Inari is one of those places where free photos often turn into a lesson in crowd chaos. With a private guide and pro editing, you buy time savings and better framing in exchange for a reasonable cost.
I’d skip it if your priority is roaming slowly, taking lots of unstructured snapshots, or you’re traveling with a strict budget and you’re comfortable with smartphone photos. Also, if weather is an unknown for your schedule, keep in mind the experience requires good weather.
Overall, this is a good value if you want two distinct Kyoto atmospheres—red torii icons and bamboo calm—with a tight plan and fast, edited results.
FAQ
How long is the photoshoot?
It’s about 1 hour.
Where do we meet for the tour?
You meet at Fushimi-Inari Station (the session can start from JR or Keihan Fushimi Inari stations). The activity ends back at the meeting point.
What photos will I receive after the shoot?
You’ll receive 50 or more professionally edited photos for solo shoots, or 60+ for couples and groups. Photos are provided as JPEGs via Google Drive 1–3 days later.
Can I get RAW files?
Yes. RAW files are available for an extra 5000 yen.
Is a kimono rental included?
No, kimono rental is not included.
What if the weather is bad?
The experience requires good weather. If it’s canceled due to poor weather, you’ll be offered a different date or a full refund.
Is this a private session?
Yes. This is a private tour/activity, so only your group participates.