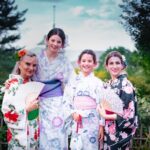
Kyoto looks different in kimono.
This experience lets you step into old Kyoto vibes with a 100-year machiya townhouse option or a Higashiyama photo session in iconic lanes. I like that you’re not just dressing up and wandering. You get real guidance on how to stand, move, and pose so your photos look natural in traditional attire.
One thing to consider is the photo delivery. Photo counts and timing can vary, so if you have a hard deadline for getting images, it’s smart to ask about what you should expect before you go.
In This Review
- Key reasons to book
- Two Kyoto looks: machiya townhouse or Higashiyama streets
- From Yumeyakata Gojo Shop to your kimono fit
- Inside the 100-year machiya: what the 30 minutes really feels like
- Higashiyama with a photographer: walking poses in natural light
- Photo delivery and the 50-image baseline
- Wearing your kimono after: the fun part with a couple rules
- Add-ons and formal upgrades: what’s worth paying for
- Price and logistics: where the value really comes from
- Who this fits best (and who should skip it)
- Small details that make photos look good
- Should you book this Kyoto kimono photoshoot?
- FAQ
- How long is the photoshoot?
- Where do I choose my kimono?
- Do I get to wear the kimono after the shoot?
- How many photos do I receive and when do they arrive?
- Is transportation included between the shop and the shoot location?
- Is this experience suitable for wheelchair users or pregnancy?
Key reasons to book
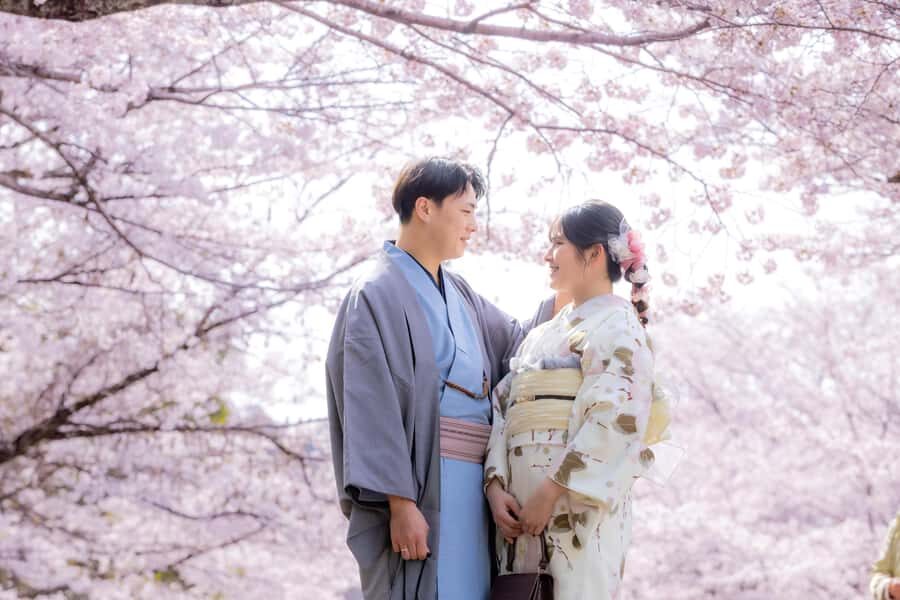
- Two location styles: traditional machiya townhouse or Higashiyama streets with your photographer
- Yumeyakata Gojo Shop first: you pick your kimono colors and fit before heading out
- Pose coaching with practical props: including a Japanese umbrella for the townhouse option
- 50 edited digital images included: plus more if you choose an optional extension
- Wear the kimono after the shoot: just return it to the shop by 5:30 PM
Two Kyoto looks: machiya townhouse or Higashiyama streets
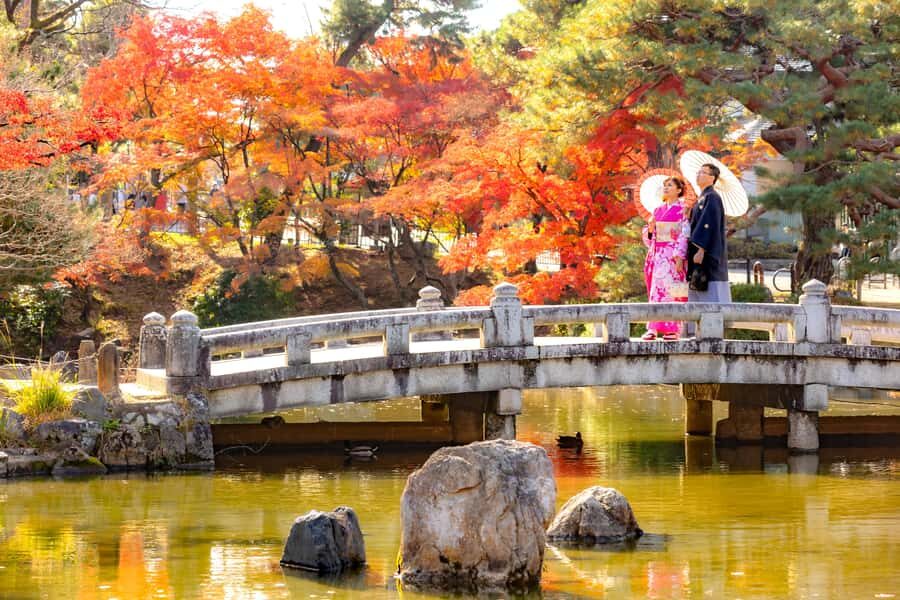
You’re basically choosing between two different kinds of Kyoto beauty, and that’s the best part. The 100-year-old traditional townhouse option feels like a step back in time, with a controlled setting made for photos. The Higashiyama option trades that quiet indoor atmosphere for classic outdoor streets, with natural light doing some of the work for you.
Both options follow the same big idea: you dress carefully, a professional photographer leads your posing, then you get edited digital photos you can actually use to remember the trip. Afterward, you’re free to wear the kimono and explore, which turns the session into a bigger outing than just a quick studio-style photo stop.
A few more Kyoto tours and experiences worth a look
From Yumeyakata Gojo Shop to your kimono fit
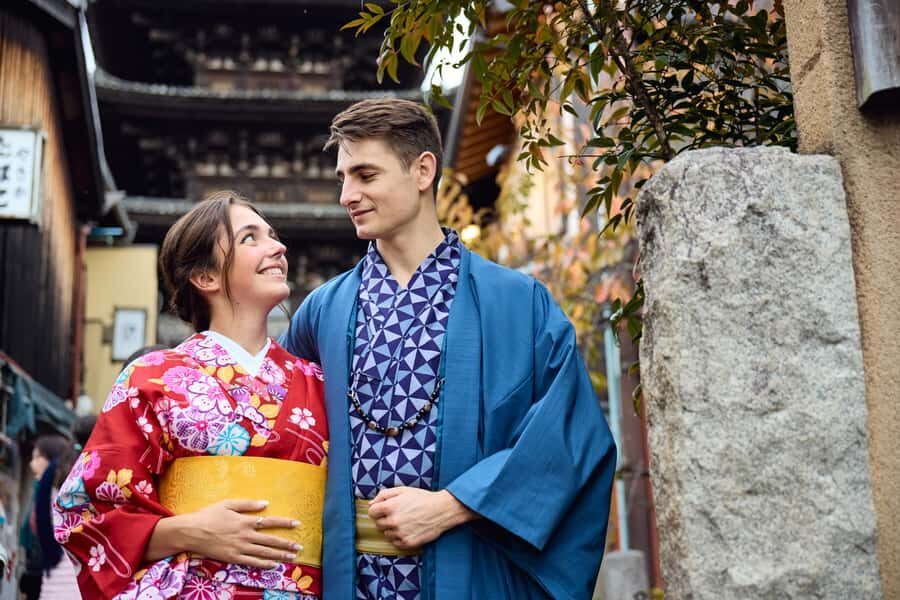
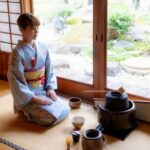
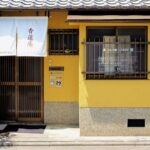
Your day starts at Yumeyakata Gojo Shop at your reserved time. This is where you select your kimono from lots of colors, designs, and sizes. It matters because a good fit and a kimono you genuinely like can change your whole look in photos.
Once you’re dressed, you move to your shoot location. For the townhouse option, you’ll take a taxi (about 1,600 yen per taxi) to Yumeyakata Oike Bettei, the traditional machiya setup. For Higashiyama, you also take a taxi to the area, and the photographer goes with you so you don’t waste energy trying to navigate mid-dress.
If you’re picturing yourself in the wrong color or too-formal outfit, this is where you correct course. Choose something that matches how you want to feel that day—soft and elegant, bold and graphic, or classic and understated.
Inside the 100-year machiya: what the 30 minutes really feels like
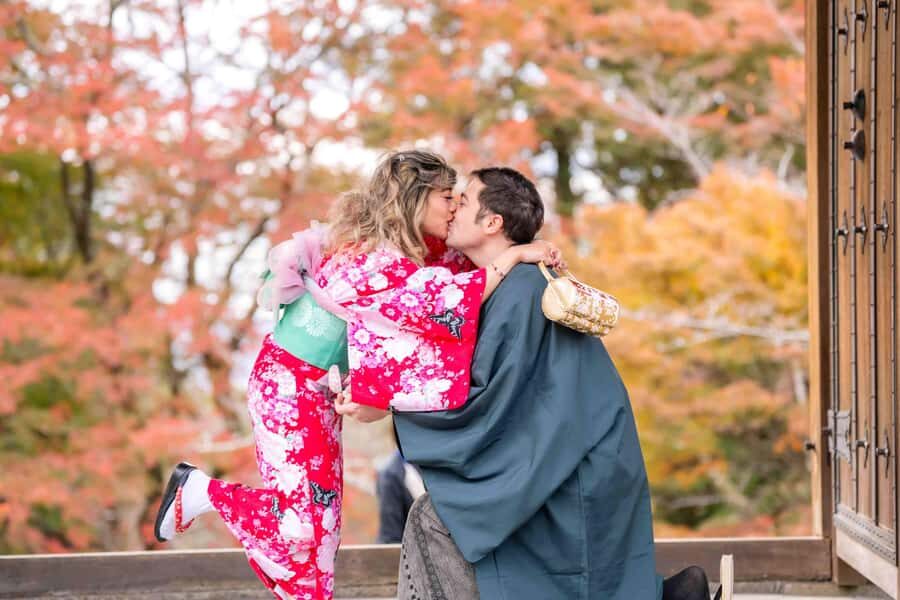
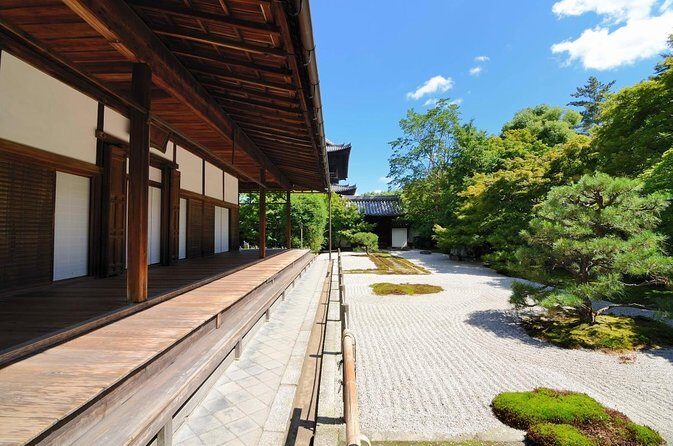
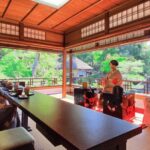
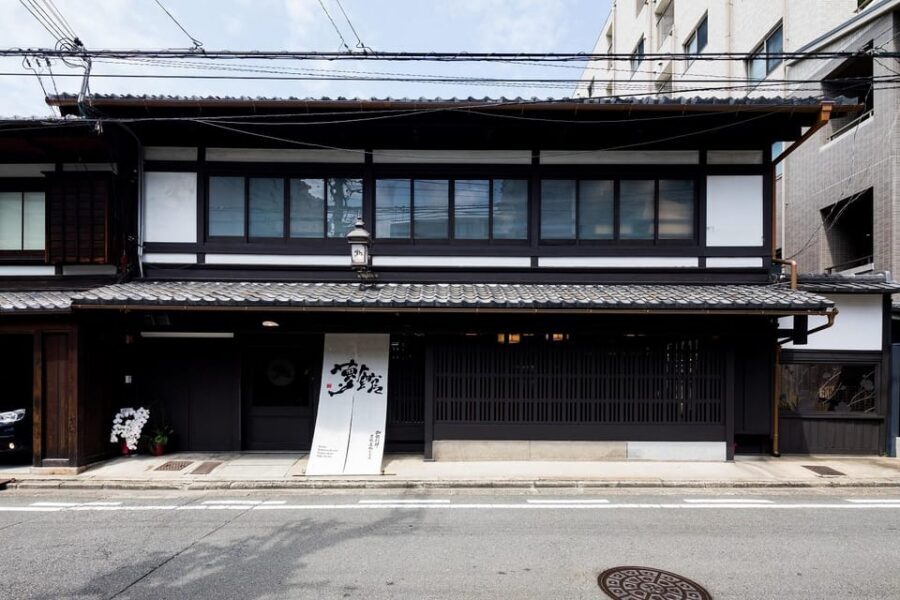
If you pick the 100-year Traditional Kyoto Townhouse option, your photoshoot begins as soon as you arrive at the machiya. The schedule is designed to move fast. You’re looking at about 30 minutes in the house while your photographer directs you.
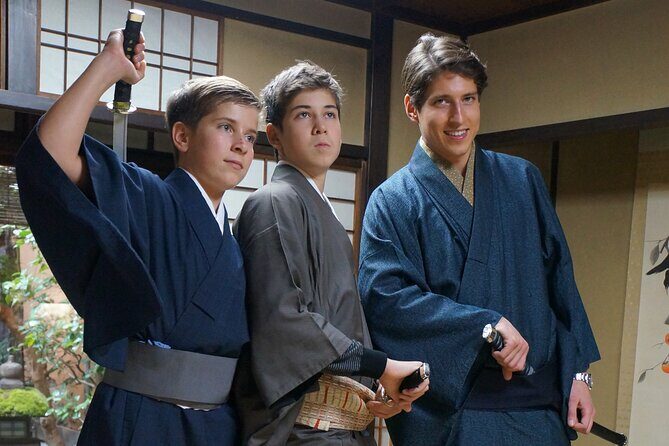
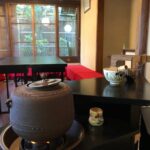
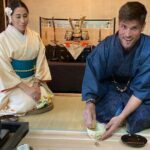
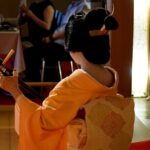
This is also where the townhouse setting helps you. You get a traditional interior atmosphere without having to coordinate crowds, traffic, or constantly changing lighting. You’ll get guidance on authentic kimono poses, and you’ll use props such as a Japanese umbrella, which is a great way to add motion and make your photos look less stiff.
One detail I like: you’re not left guessing what to do with your hands. Kimono posing can feel unnatural at first, especially if you’re used to normal clothes. With the photographer coaching you, you walk away with images that look like you understood the style—not like you borrowed it for an hour.
Higashiyama with a photographer: walking poses in natural light
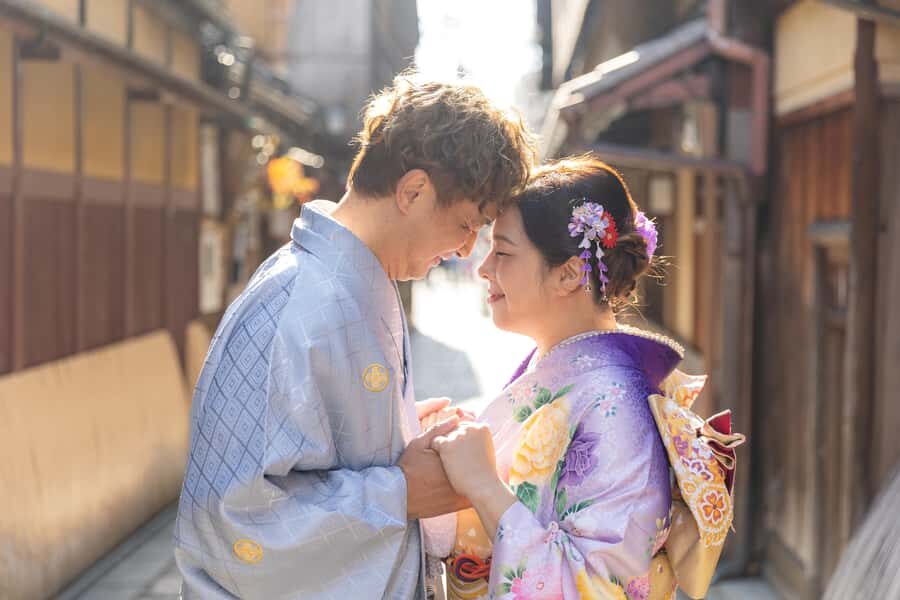
The Higashiyama option is for you if you want Kyoto outside, not behind closed doors. After dressing, you take a taxi (again, about 1,600 yen per taxi), and the photographer stays with you so you don’t have to manage directions in the middle of your kimono day.
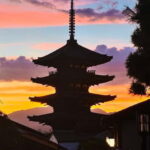
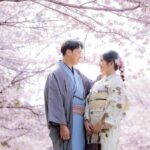
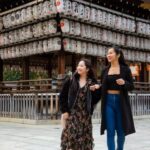
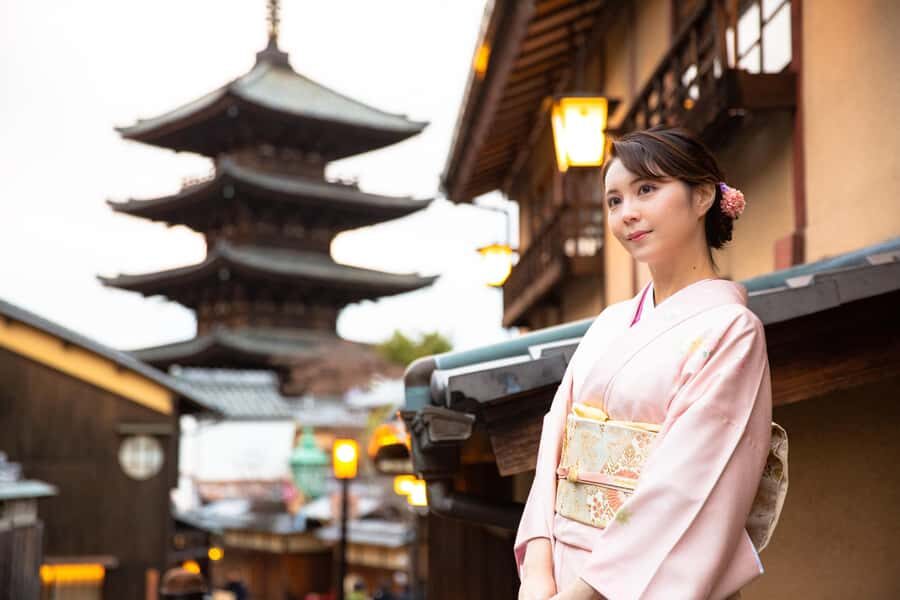
Higashiyama is famous for traditional wooden streets, pagodas, and temples, and the photos tend to look more “lived-in” because you’re capturing real street scenes. The photographer guides you through the most charming traditional spots and captures your moments in natural light.
The practical upside here is that you’re not just standing for pictures. You can get a mix of posed photos and walking shots, which often look more flattering and more like a memory you can actually relive. The tradeoff is that outdoor light changes faster, so you’ll want to trust the photographer’s timing rather than fighting the schedule.
Photo delivery and the 50-image baseline
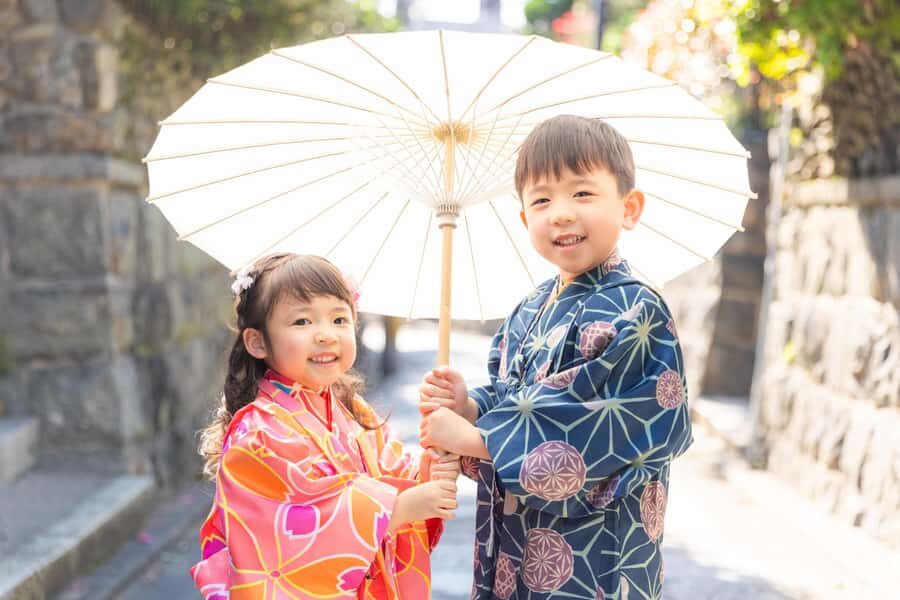
The base included set is 50 images in digital format. Edited photos are sent by email about 3–7 days after the photoshoot. There’s also an optional 30-minute shoot extension that adds 50 more digital images.
In general, this is a solid structure: you get enough images to choose your favorites without paying for every minute. It’s also why the 30-minute timing works. You’re not stuck in one pose forever, and you still get multiple angles.
That said, I’d treat photo delivery as something to plan for, not a guaranteed instant download. Some people end up receiving fewer images than expected or waiting longer than they were told. If you have a specific deadline, message ahead and ask how many images you should expect to receive for your session type and when the email will arrive.
Other photography tours in Kyoto
Wearing your kimono after: the fun part with a couple rules
This isn’t just a photoshoot and go. After the session, you can wear your kimono and stroll around Kyoto. That’s a big value because you turn the cost of the rental into an all-day look, not a quick costume moment.
Just remember the practical requirement: you need to return your kimono to the Gojo shop by 5:30 PM. Plan your evening route with that in mind, especially if you want dessert runs or a final temple stop.
Also note what you’re not supposed to do. The experience doesn’t allow food and drinks, and there are rules about smoking and strong fragrances. Keeping that in mind early helps you avoid awkward moments later while you’re still dressed.
If you want the day to feel smooth, bring a simple mindset: walk carefully, keep your clothing and hair accessories neat, and don’t overpack your schedule between photo time and return time.
Add-ons and formal upgrades: what’s worth paying for
The upgrade options can make this feel like a special occasion, not just a souvenir photo. You can choose add-ons such as hair styling, makeup, and upgrades from casual to a more formal kimono like Houmongi, Furisode, or Montsuki Hakama.
If you love the idea of stepping into a more formal look, the upgrade can be the biggest visual difference. Casual kimono can be beautiful, but formal styles often photograph with more structure and presence. It’s the kind of choice that can make your pictures look like a real event, not a casual outfit change.
There are also add-ons you can get on the spot, like decoration items (starting from 220 yen), customized hairstyling (+1,100 yen), and fake eyelashes (550 yen). I’d only add these if you know you want that extra polished look. If not, the base setup is already enough to look distinctly Japanese without turning your morning into a beauty appointment.
Price and logistics: where the value really comes from
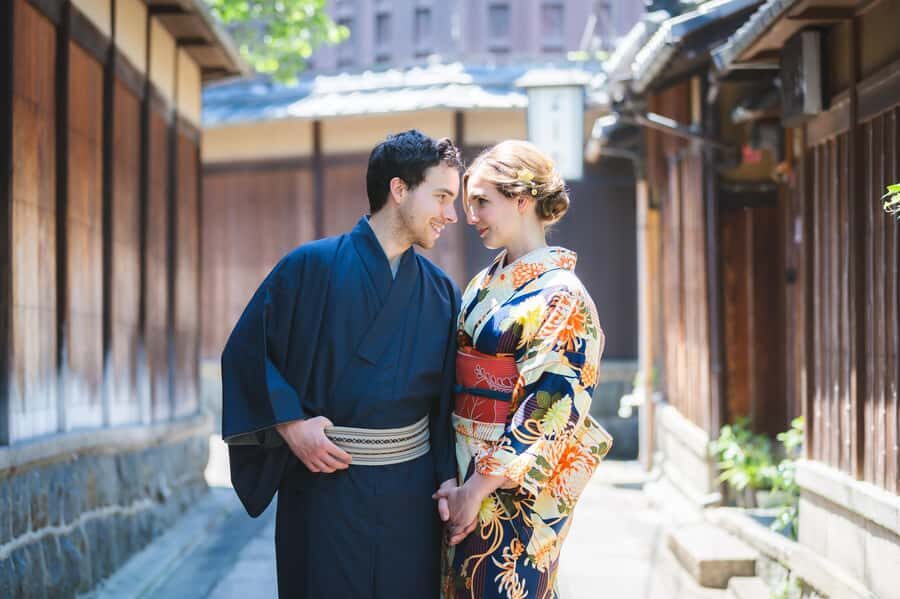
The price is listed at $124 per group (up to 1). For that, you get the basics that matter: casual kimono rental, a 30-minute professional photoshoot, and 50 edited digital images.
For value, think about replacement costs. You’re paying for kimono rental plus a photographer plus editing, not just fabric. Most people end up spending a lot more time and effort trying to coordinate their own photos on a tight Kyoto itinerary. Here, someone guides your posing, and you get results that look intentional.
One extra cost to budget: transportation between the shop and shoot location. Taxi is about 1,600 yen per taxi, and you’ll likely use at least one taxi leg depending on which option you pick. Keep that in mind so the final total doesn’t surprise you.
If you like having flexibility, the booking option is reserve and pay later, so you can lock in a spot without paying immediately.
Who this fits best (and who should skip it)
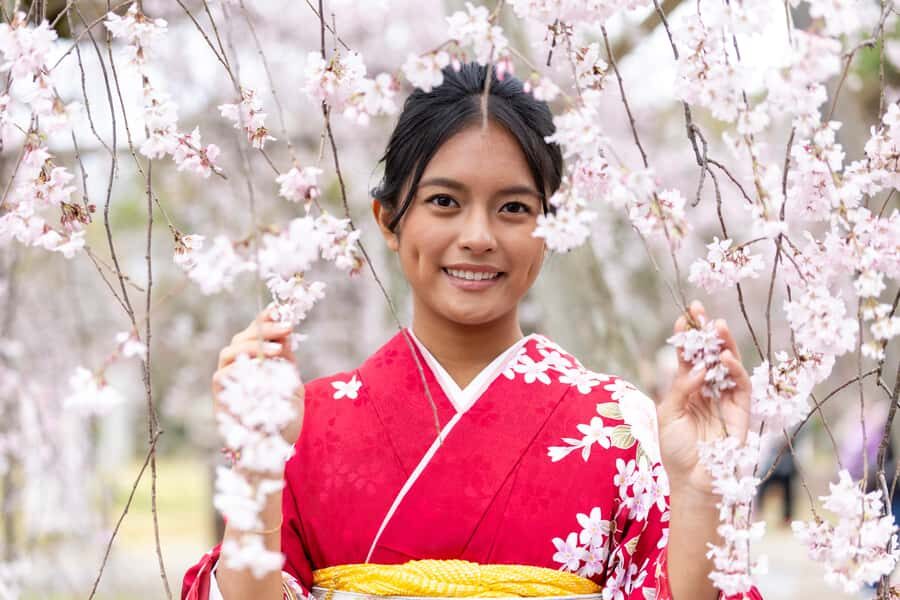
This is a great fit if you want Instagram-level kimono photos but you don’t want the stress of finding the right spots, setting up your camera, and then figuring out posing on your own. It’s also a good fit if you’d rather spend your energy walking Kyoto in a kimono than searching for lighting angles.
The experience is not suitable for:
- pregnant women
- people with mobility impairments
- wheelchair users
- people over 6 ft 6 in (200 cm)
- people over 209 lbs (95 kg)
So if you or your travel partner falls into any of those categories, you’ll want to choose a different Kyoto kimono plan. Also, because it’s a photoshoot with handling and posing, the no-go list includes pets, smoking, food and drinks, and strong fragrances.
Small details that make photos look good
A couple things help you get better results regardless of which option you choose.
First, listen to pose instructions. Kimono makes your posture different, so follow the cues about where your weight goes and how you move your arms. You’ll look more relaxed fast if you stop trying to copy normal outfit posture.
Second, bring a mindset for hands and walking. With kimono, it’s easy to feel like you’re playing dress-up. The best photos usually come when you accept that you’re learning a style: small movements, careful steps, and a calm face.
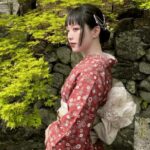
Finally, pick your kimono with the photo day in mind. If you want images with a softer look, choose colors that play well with indoor wood tones. If you want outdoor contrast in Higashiyama, choose something that stands out against traditional street backgrounds.
And yes, you may even notice the photographer name Yoshino comes up in people’s stories for strong posing tips and friendly guidance. Whoever you get, the goal is the same: help you look confident.
Should you book this Kyoto kimono photoshoot?
I think you should book if you want a high-impact Kyoto souvenir without the usual headache. You’ll get a real professional photographer, a structured photoshoot, and edited digital photos sent to your email after. Then you can keep the kimono vibe going for the rest of your afternoon, as long as you return it by 5:30 PM.
I’d hesitate if you have a strict deadline for receiving photos, since image delivery timing and counts can vary. It’s also not the right choice if you need accessibility accommodations, or if you’re taller or heavier than the stated limits.
If you want a Kyoto moment that feels elegant and photo-ready with far less planning effort on your end, this is one of those rare experiences where you pay for the setup and coaching, not just the costume. And in Kyoto, that difference shows up clearly in the photos.
FAQ
How long is the photoshoot?
You get about a 30-minute photoshoot for the main experience. You can also add a 30-minute extension for extra photos.
Where do I choose my kimono?
You visit Yumeyakata Gojo Shop at your reserved time to select your kimono from available colors, designs, and sizes.
Do I get to wear the kimono after the shoot?
Yes. After the shoot, you can wear your kimono to stroll around Kyoto, but you must return it to the Gojo shop by 5:30 PM.
How many photos do I receive and when do they arrive?
The included package includes 50 edited digital images. Edited photos are emailed about 3–7 days after the photoshoot. An optional extension adds 50 more digital images.
Is transportation included between the shop and the shoot location?
No. Transportation is not included. Taxi fare is about 1,600 yen per taxi.
Is this experience suitable for wheelchair users or pregnancy?
No. It is not suitable for wheelchair users, people with mobility impairments, and pregnant women.