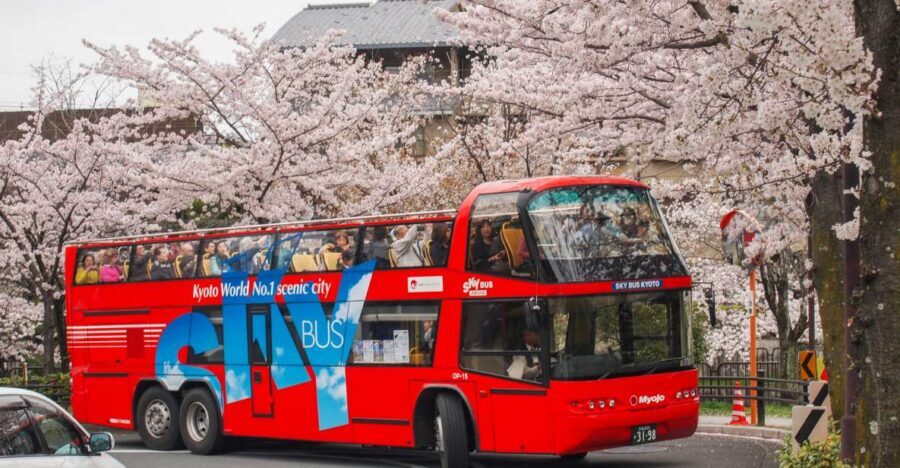
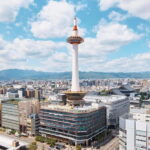
Kyoto can feel like a maze of neighborhoods and temples. This hop-on hop-off bus helps you get oriented fast, then slow down where you want. You ride an open-top double-decker for big city views, hop off at the main sightseeing clusters, and use the mobile voucher to get on without fuss.
What I like most is the payoff-per-hour: you can cover a lot of Kyoto highlights in one day, then revisit the places that grabbed you. I also really like the on-board pre-recorded audio in 7 languages, which makes the ride useful even if you’re too tired to read guidebooks at every stop. One drawback to keep in mind: the top deck is fully exposed to sun, and in cold or rain you may end up wishing you were on the lower deck or that the bus came a bit sooner.
In This Review
- Key points before you ride
- Price and value: is $27 worth it in Kyoto?
- Where you board, and how the hop-on hop-off rhythm works
- Stop-by-stop: what each part of the route is good for
- Open-top views: how to get the best ride (without suffering too much)
- Audio commentary in 7 languages: use it like a smart map, not a textbook
- Timing, crowds, and ride spacing: how to avoid the common headaches
- Rules on board: the small things that can trip you up
- 1-day vs 2-day pass: which one fits your Kyoto style?
- Who this bus is best for (and who should consider other options)
- Should you book this Kyoto hop-on hop-off bus?
- FAQ
- Can I hop on and off the bus at different stops?
- Where is the first stop if I start at Kyoto Station?
- How long is the ticket valid?
- What’s included with the ticket?
- Does the bus have Wi‑Fi?
- Can I bring food, alcohol, or umbrellas onboard?
- Is the top deck covered?
Key points before you ride
- Unlimited rides during your 1-day or 2-day ticket window mean you can pace yourself
- Open-top double-decker views give quick, fun panoramas as you travel between districts
- Audio in 7 languages helps you understand what you’re seeing without needing Wi-Fi
- Major stops cover Kyoto’s must-sees, including Nijo Castle, Kinkakuji, and Gion
- Raincoats are provided in wet weather, but umbrellas are not allowed onboard
- Wi‑Fi is temporarily suspended, so plan to rely on the voucher and offline prep
Price and value: is $27 worth it in Kyoto?
At about $27 per person, this ticket is basically a transport hack for first-timers and time-crunched travelers. You’re not paying to enter attractions; you’re paying to solve the hardest part of Kyoto sightseeing: spacing. Temples and districts are spread out enough that walking alone gets tiring fast, and train/bus routes can feel like a puzzle when you’re juggling crowds and lines.
The value really comes from how the pass works. You get a 1-day or 2-day ticket (depending on what you choose), and you can ride as much as you want within that window. That turns the bus into a flexible “move-and-decide” tool. Do one full loop to get your bearings, then jump off to linger where you want photos, snack breaks, or slower temple time.
Also, the ticket includes audio commentary and you can use your mobile voucher at the stops. That cuts out the hassle of coordinating tickets while you’re standing in Kyoto’s wind, heat, or crowds.
Bottom line: if you plan to see several of Kyoto’s headline sights, this pass is usually a good way to spend your day efficiently without feeling rushed.
A few more Kyoto tours and experiences worth a look


Where you board, and how the hop-on hop-off rhythm works
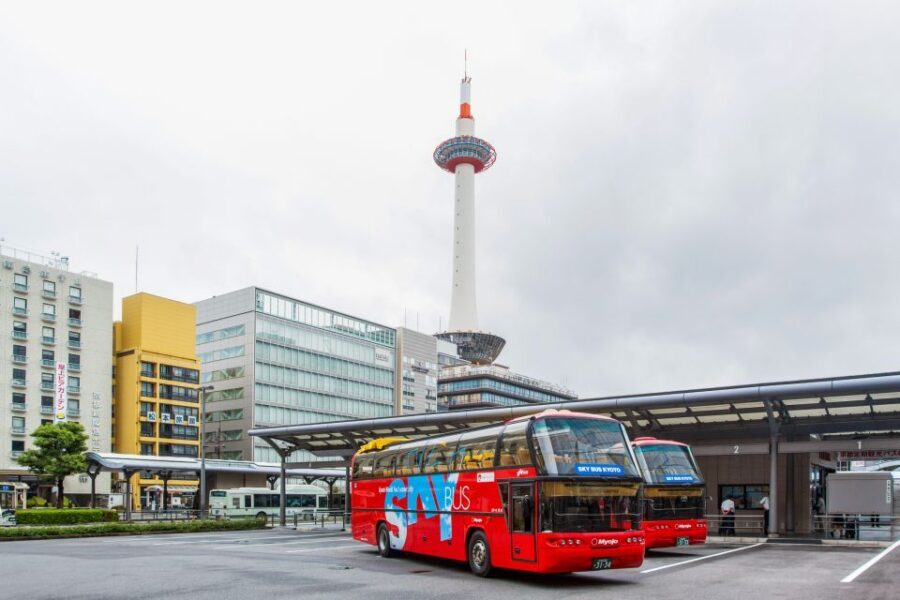
The main starting point is simple: the bus stop is at Kyoto Station, directly in front of the Isetan department store, near the north central exit. From there, you can board at any stop along the route. That’s one of the most practical parts of this experience. You can start at Kyoto Station, or later in the day hop in near the area you’re already exploring.
You’ll use a mobile voucher to board (show it to the attendant as you get on). Once you’re riding, your ticket gives you unlimited rides during the validity period, so you’re free to bounce between zones instead of committing to one big walking route.
Two small realities to plan for:
- The system depends on road traffic and weather. If conditions are severe (like thunderstorms or typhoons), buses may not operate.
- Wi‑Fi is temporarily suspended, so don’t count on the bus network to pull up directions or maps. Download anything you need before you board.
And yes, this is an open-top bus. If the sun is strong, you’ll feel it. If you’re in cooler seasons, you’ll also feel that breeze.
Stop-by-stop: what each part of the route is good for
Think of this as Kyoto’s greatest-hits checklist, with enough flexibility to actually enjoy it. Below is what each stop is best used for, plus a heads-up on what to expect when you hop off.
Kyoto Station
A smart start if you want an easy launch into sightseeing. You’ll also find plenty of food options near the station before you head out for temples and neighborhoods.
Nishihonganji (Kyoto Tokyu Hotel)
This is a convenient jump point if you want to start your temple time near the city’s core rather than going straight to the far-east sights. It also works well if you want a calmer morning than later afternoon crowds.
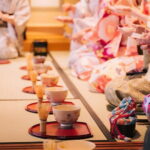
Shijo Karasuma / Nishiki-ichiba Market
This is where shopping and snack breaks fit naturally. It’s a good “energy stop” before you head into more solemn temple areas. If you like walking food streets, this stop can turn your bus day into a full-day outing.
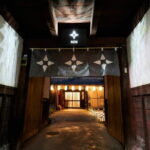
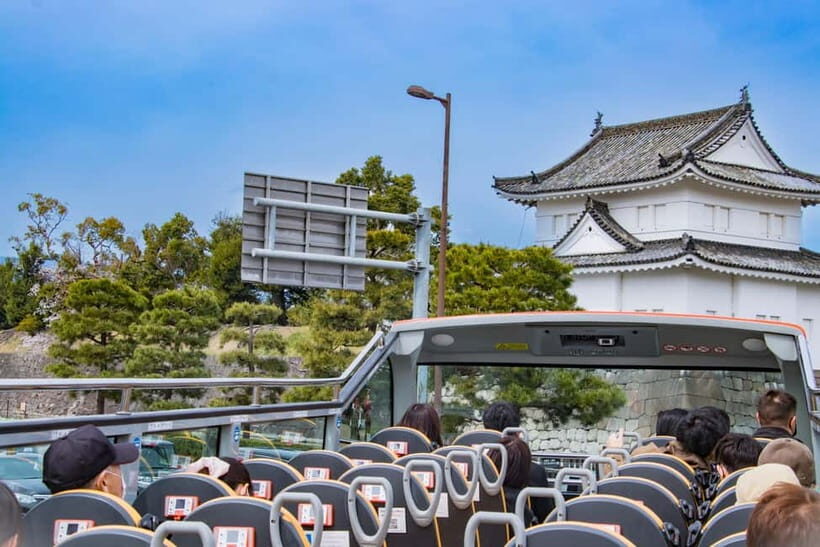
Nijo-jo Castle (Nijo Castle)
Nijo Castle is a major stop for a reason: it’s one of Kyoto’s big historical anchors. If you’re choosing only a few stops to make your “must-hit list,” this is often one of them.
Kitano-tenmangu Shrine / Kamishichiken
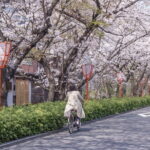
This area gives you a different flavor than the most crowded central temple zones. It’s a solid stop for anyone who wants a more traditional Kyoto feel and quieter streets to wander between stops.
Kinkakuji Temple (Golden Pavilion)
This is a headline attraction. Expect crowds and plan your timing accordingly. One practical tip from on-the-ground experiences: the Golden Pavilion area only accepts cash, and there’s not an ATM on the premises, so have money ready before you arrive.
Daitokuji Temple
A stop that can feel more “temple-quiet” than the iconic photo factories. If your day includes Kinkakuji, Daitokuji is a good way to keep the temple mood going without feeling like you’re repeating the same experience.
Kyoto Imperial Palace (Doshisha University)
Useful if you want to break up your day between temple stops and cultural sites. It’s also a nice chance to see how the city connects modern institutions with the formal, historic layout of the area.
Ginkakuji Temple (Silver Pavilion)
Ginkakuji is a favorite among travelers who want beauty without the same kind of pressure you can feel at the most famous single photo spot. It’s a strong choice for a slower, more reflective visit.
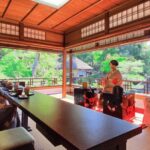
Heian-jingu Shrine / Okazaki Park
This stop is built for strolling. The shrine setting plus the park area makes it a good place to take your time and enjoy the atmosphere rather than just checking off a view.
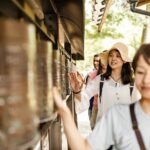
Gion (Kotowa-Kyoto Yasaka)
A natural place to experience Kyoto’s most famous traditional district feel. This is where people often come to simply walk slowly and absorb the streetscape, even if you don’t have one “must-see” doorway.
Gojozaka (Kiyomizu-dera Temple / Gion)
This is a practical access point for Kiyomizu-dera. The area around it can get busy, but hopping off here saves you the stress of figuring out how to get there after you’ve been sightseeing all day.
Sanjusangendo / Kyoto National Museum (Hyatt Regency Kyoto)
A good pairing stop. If you want temple art and museum time in the same area, this makes it easier. It’s also useful if you want an indoor option when weather turns.
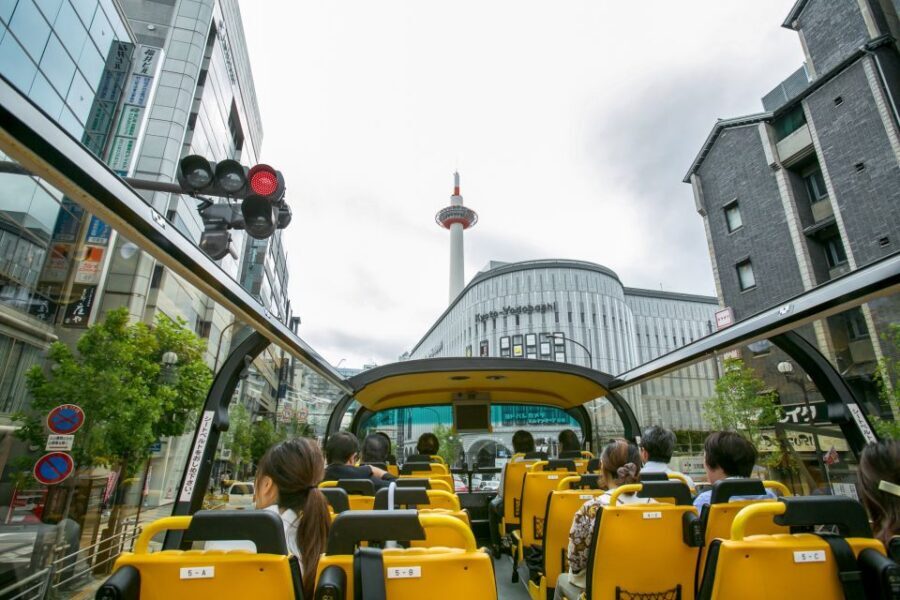
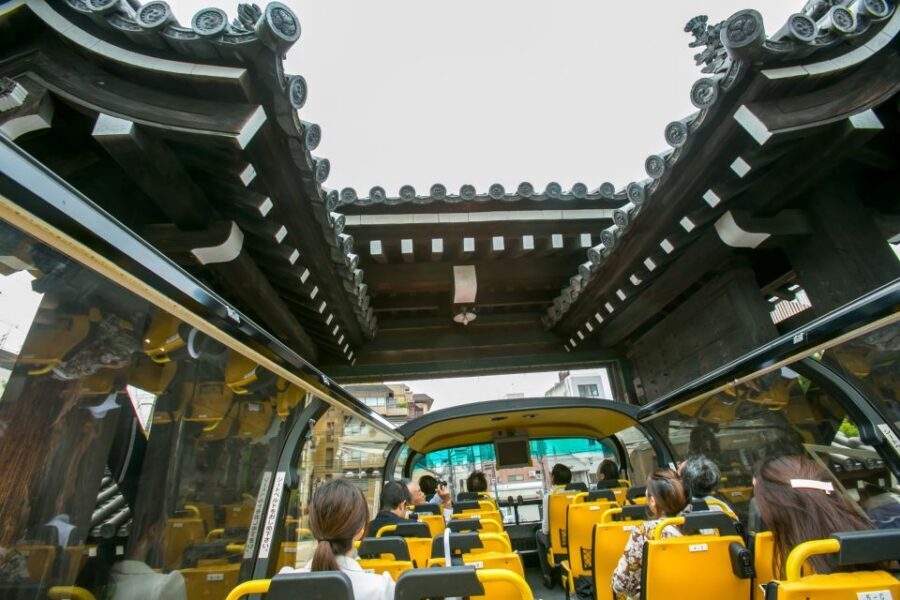
Open-top views: how to get the best ride (without suffering too much)
The open-top double-decker is a big part of the fun. You get quick panoramic views as the bus moves between districts, and you don’t need to keep your head down like you might on a train platform. It’s a great way to spot where things are, then decide where to exit.
But here’s the trade-off: because the top deck is exposed, you’re in direct sunlight. That’s great for photos and crisp views, but it also means you’ll feel heat and glare in summer. In bad weather, raincoats are provided, but umbrellas are not allowed onboard, so plan to travel in a way that keeps your hands free.
If you’re sensitive to cold, you might prefer the lower deck when it’s chilly. A few experiences also point out that if the top deck is crowded, you may not always see what you want from every seat position. So use the ride for orientation and scenery, then treat your hop-off time as your real “viewing time.”
Audio commentary in 7 languages: use it like a smart map, not a textbook
The on-board audio is pre-recorded and available in English, French, Japanese, Korean, Chinese, Spanish, and German. This is genuinely useful because it lets you understand what you’re passing and heading toward without constantly pulling out your phone.
That said, I’d treat it as orientation, not a deep lecture. Some feedback notes that audio can cut off as you approach stops, and one common complaint is that the music/background sound can overpower the voice. Translation can also sound different across languages, since it’s recorded narration.
My practical advice: listen for the “name + what it is” part. Then at the stop, do your own quick scan and decide what you want to explore further. This keeps you from getting stuck in a passive, head-in-headphones mode.
Also, because the audio guide is there, you don’t need to rely on data to learn what you’re looking at. Just bring the right expectation: the bus is a tour of highlights, not a one-site documentary.


Timing, crowds, and ride spacing: how to avoid the common headaches

Kyoto’s big attractions are popular. The bus helps, but it won’t magically remove crowds from temple entrances like Kinkakuji or the Kiyomizu-dera area. What it does is reduce your stress about getting from Point A to Point B.
A few riders mention gaps at certain times, including a stretch where buses can be about every 45 minutes. That can matter if you’re planning tight transfers. The easiest fix is to start early, do one full loop, and only commit to long visits once you’ve felt how long lines and walking take on your specific day.
One more timing trick: use the bus as your “decide later” option. Jump off somewhere around mid-morning, explore for a set amount of time, then return to the next stop along the route. If you’re the type who likes to keep options open, this style fits.
If weather turns serious, don’t count on the bus running. On wet days, raincoats are provided, but you’ll still want to move efficiently and accept that plans might be delayed.
Rules on board: the small things that can trip you up
This pass is straightforward, but the rules are real. No smoking in the vehicle. No selfie sticks. No food in the vehicle and no alcoholic drinks on board. You can bring soft drinks with lids, like plastic bottles or coffee.
These restrictions are worth knowing because they affect what you carry and how you snack during transitions. If you want to eat, plan to do it after you hop off at a stop with food nearby, like the market area around Nishiki.
Also, the ride is designed for outdoor viewing, so you may feel more comfortable with fewer bulky items. And remember: umbrellas aren’t allowed, so keep your pack light.
1-day vs 2-day pass: which one fits your Kyoto style?
If you have only one day, choose the stops that match your interests and accept that you’ll be moving a lot. One-day use works best when you treat the bus as an efficient sampler and don’t plan to linger too long at every site.
The 2-day option is usually the calmer way to do it. Some experiences describe a smart strategy: use day one to get a city feel and figure out pacing, then spend day two revisiting the places you loved. That makes a big difference at Kyoto’s top attractions, where “just a quick look” can turn into “one more photo” and then suddenly it’s late.
In terms of value, the 2-day pass shines if you like slow wandering, photo time, or sitting down for a snack between temple clusters. If you’re the opposite and you want to hit a checklist at full speed, 1 day may be enough.
Who this bus is best for (and who should consider other options)
This fits you if:
- You’re seeing Kyoto for a short time and want simple logistics
- You want easy access to top attractions without mastering bus/train transfers
- You like self-paced sightseeing with transport solved
You might want a different approach if:
- You want long, site-specific guided history at each stop (this is not that style)
- You’re expecting the bus ride to provide full details for every attraction without needing your own reading time
A nice extra: multiple staff and guides are praised in real experiences, including names like Lauren, Casey, and Miyuki. If you get an attendant who’s friendly and practical, you can sometimes get local tips that improve how you spend your hop-off time.
Should you book this Kyoto hop-on hop-off bus?
I’d book it if you want maximum Kyoto highlights with minimal planning. For the money, it’s a strong way to reduce stress and make your day feel more organized, especially when you’re juggling several far-apart sights.
Choose the 2-day ticket if you know you’ll want breathing room at at least a couple stops, like Kinkakuji, Kiyomizu-dera access areas, or Gion. Choose the 1-day ticket if you’re confident you’ll pick your priority sites and accept shorter stays.
Just go in with the right mindset: use the bus for orientation and easy transport, then let each stop earn your time on the ground.
FAQ
Can I hop on and off the bus at different stops?
Yes. You can board at any of the stops along the route. Just show your mobile voucher when you get on.
Where is the first stop if I start at Kyoto Station?
The first stop is at Kyoto Station, near the north central exit, in front of the Isetan department store.
How long is the ticket valid?
Your ticket is valid for either 1 day or 2 days, depending on the option you select.
What’s included with the ticket?
The ticket includes the bus ride for the valid period, plus audio commentary in 7 languages.
Does the bus have Wi‑Fi?
Wi‑Fi is temporarily suspended, so don’t rely on it during your ride.
Can I bring food, alcohol, or umbrellas onboard?
No. Food and alcohol are not allowed on the vehicle, and umbrellas are not allowed. You can bring soft drinks with lids.
Is the top deck covered?
The bus has an open top, so you’ll be in direct sunlight on the upper deck. Raincoats are provided in wet weather.