Turning ink into a personal kanji is strangely satisfying. What I like most is the real temple setting in central Kyoto and the way the instructors walk you through shodo step by step, with Jose and Saskia helping translate as needed. I also love that you leave with a true keepsake: your finished piece on a shikishi plus a character key-chain made to match what you choose. One heads-up: the workshop happens on tatami and most seating is on the floor, so leg strain can be real if you don’t like sitting that way.
In 70 minutes, you’ll go from choosing your word/Kanji to practicing basic lines, then writing your final artwork inside a washitsu with tatami flooring and zabuton (floor pillows). The vibe is quiet-ish (not silent), so you can focus even if you’re not fluent in Japanese.
In This Review
- Key highlights you will actually care about
- Why Kyoto’s Buddhist Temple Setting Makes Calligraphy Feel Real
- The 70-Minute Flow: From Choosing Your Kanji to Your Final Shikishi
- Tools, Ink, and Brush Control in a Tatami Room
- Comfort Notes: Zabuton Seating and Limited Desks
- What You’ll Make: A Display-Ready Kanji Plus a Matching Key-Chain
- Price and Value: What $55 Buys You (and Why It’s Fair)
- Who This Kyoto Calligraphy Class Is Best For
- Practical Tips So Your Kanji Comes Out Looking Like You Meant It
- Should You Book This Kyoto Calligraphy Workshop at Seigan-ji?
- FAQ
- How long is the calligraphy class in Kyoto?
- What should I do at the meeting point for Seigan-ji Temple?
- Is food or drinks included?
- Do I need to bring my own word or Kanji?
- What do I get to take home?
- How many people are in the group, and where will we sit?
Key highlights you will actually care about
- Central Kyoto temple experience at Seigan-ji, not a studio demo
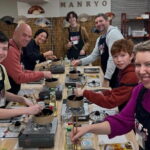
- Small group (up to 6) so you can get practical help while you practice
- Step-by-step shodo: basic strokes first, then your chosen Kanji
- Take-home art on shikishi, plus an omiyage character key-chain
- Tatami room format with zabuton and limited desks (plan for floor seating)
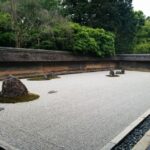
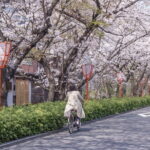
Why Kyoto’s Buddhist Temple Setting Makes Calligraphy Feel Real
Japanese calligraphy isn’t only art class here. It’s part of daily culture and even shows up in school learning, including how characters work, how tools are used, and how to express something personal with careful form. That context matters because it turns your workshop from a simple souvenir photo into a real skill moment.
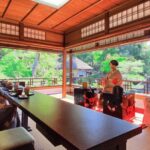
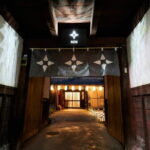
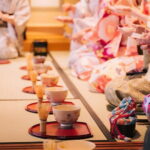
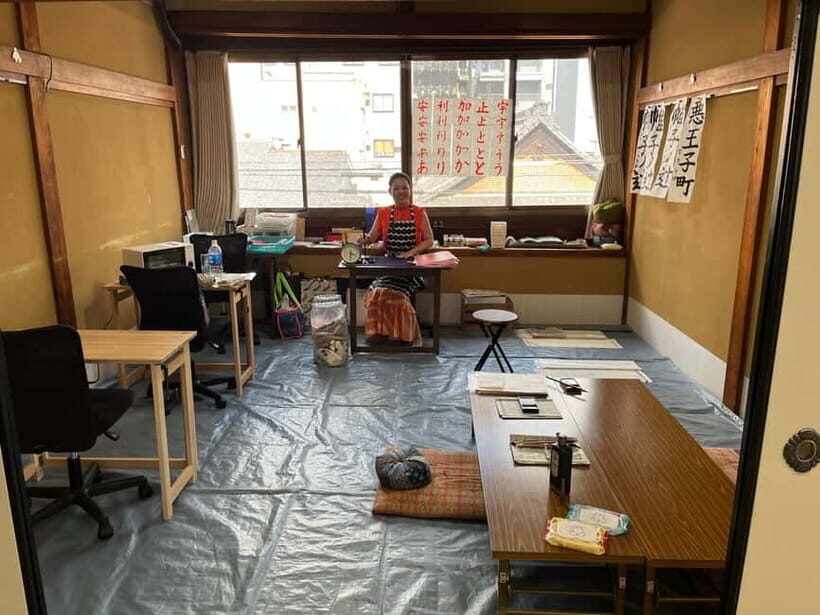
Doing it inside a Buddhist temple area adds weight too. You’re not writing in front of a backdrop. You’re sitting in a traditional washitsu with tatami flooring and writing with ink and brush in a space that has its own rhythm and rules. In several experiences tied to this workshop, that atmosphere was a big part of why people felt it was memorable and not overly tour-busy.
The other thing I like: you’re not expected to be a calligraphy person already. The instructors start you with basics—lines, control, and stroke intent—so even total beginners can finish something that looks intentional.
Other city tours we've reviewed in Kyoto


The 70-Minute Flow: From Choosing Your Kanji to Your Final Shikishi

The timing is tight but not rushed. The workshop runs about 70 minutes, with a clear sequence that prevents that common problem of language classes: you feel lost while everyone else moves on.
Here’s how the session is structured:
- Meet your teacher and translators: You’ll be introduced to the Japanese calligraphy instructor plus English/Spanish/Japanese/Dutch support (depending on what language you book).
- Pick your word/Kanji: You select a character to write. The class provides examples too, but having ideas ready helps.
- Learn the tools: You’re shown how to handle the brush, ink, and writing materials properly.
- Practice basic lines: Before your final Kanji, you’ll rehearse fundamental strokes so the finished character isn’t just a guess.
- Practice your chosen character: You repeat the Kanji with guidance, adjusting for brush angle and pressure.
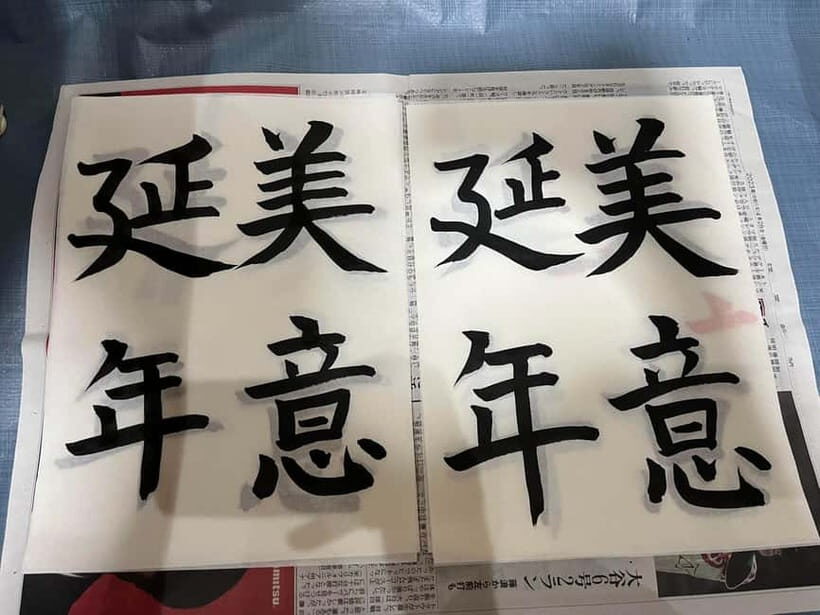
- Create and complete your artwork: Your final piece is written on a shikishi (the special square board used for finishing).
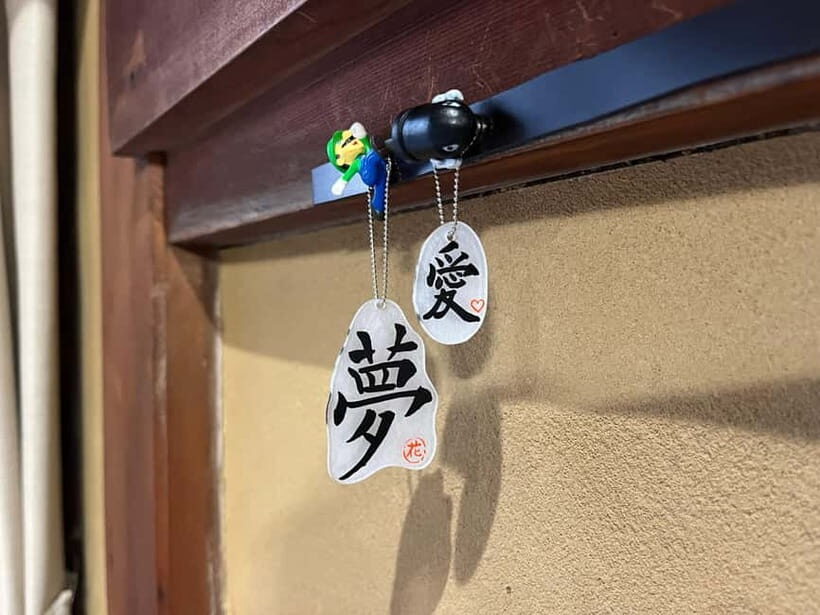
- Take it home: You’ll leave with your artwork, plus a small souvenir key-chain that matches your chosen character.
What I find useful is that the class is built like a mini-training plan. You warm up, you practice, then you produce. That’s why even people who start with little knowledge end up with something they can display.
You also get a translator setup that makes the instruction usable. One detail I’d keep in mind: the calligraphy teacher may work in Japanese, but the guide/translator supports you so you can follow each step, not just watch. In many run-throughs, Jose (and sometimes Saskia) is mentioned as a friendly, helpful host who makes sure you’re comfortable and not guessing.
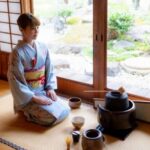
Tools, Ink, and Brush Control in a Tatami Room

Calligraphy looks simple until you try it. The brush has its own personality, and ink flow changes with your grip, stroke speed, and pressure. This class helps because it focuses on what you can control.
You’re provided with the writing materials, including washi, brush, ink, and the specific supplies named in the class materials list: bunchi and shitakami. You’re also shown the Kanji examples so you can choose a character that fits the level and shape the teacher expects.
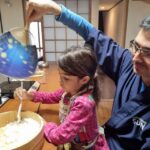
During practice, expect a lot of small corrections. Translators help you understand the reasoning behind stroke order and shape. That matters because good calligraphy isn’t only about copying the character; it’s about producing lines that look intentional. In the workshop format, instructors encourage improvement while you’re writing, not after you’re done.
Another practical note: you’re writing with real ink, and it’s easy to overdo it early. Several accounts mention that the class is harder than it looks, so you’ll want to pace yourself. Practice a little, check guidance, then practice again. If you push too hard, your arm tires—and your final piece can suffer.
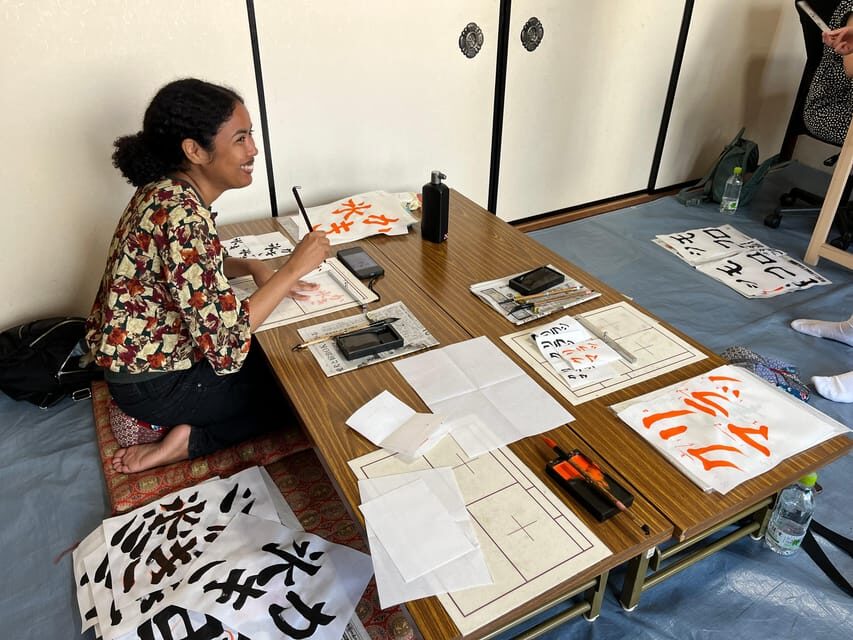
Comfort Notes: Zabuton Seating and Limited Desks
Let’s talk body mechanics. The workshop takes place in a washitsu with tatami flooring, and most seating is on the floor using zabuton (floor pillows). There are desks available, but they’re limited.
This isn’t just an issue of comfort. If your legs go numb or you shift constantly, your brush control changes. If you know you’re sensitive to floor sitting, arrive ready to take it slow and settle in.
Good news: the class format is designed for focused attention, so once you get your stance, it clicks. Still, I recommend planning for floor seating even if you consider yourself flexible.
Also note the setting isn’t a strict silent meditation. It’s quiet-ish, mostly because everyone concentrates on writing, but you won’t be trapped in a total hush. That’s a nice middle ground if you want calm without feeling isolated.
What You’ll Make: A Display-Ready Kanji Plus a Matching Key-Chain
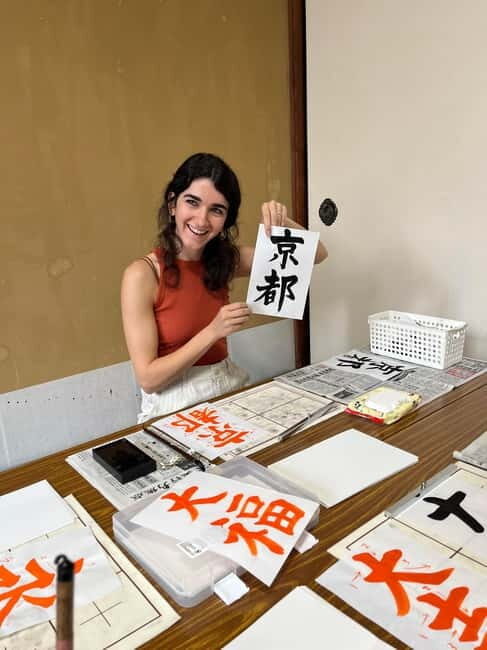
The finished output is the real payoff. You write your final character on a shikishi, and you can take your work home. That means you’re not leaving with a product someone else made for you. You’re leaving with your own handwriting in a traditional format.
The workshop also includes a small souvenir key-chain made based on your chosen character. In multiple descriptions of the experience, this key-chain is treated as a thoughtful extra, not a random giveaway. It’s a nice way to keep the workshop tied to your specific selection, not just the idea of calligraphy in general.
If you’re choosing your character, it helps to think about display. Some Kanji are more balanced for a square board than others. Even if you don’t know what works yet, the teacher provides examples to pick from, so you’re not fully on your own.
One more small detail I appreciate: people mention they take photos during the workshop. That’s helpful because the process is hands-on and easy to forget visually once you’re focused on strokes. Having pictures makes the day feel more complete when you’re home with your finished piece.
A few more Kyoto tours and experiences worth a look


Price and Value: What $55 Buys You (and Why It’s Fair)

At $55 per person, this workshop can feel like a deal or a splurge depending on what you usually spend for activities in Japan. Here’s why it tends to feel fair: your money goes into real instruction, guided practice, and the materials to produce a final piece you can keep.
You get:
- Use of the calligraphy materials (including the ink and writing supplies named in the included list)
- Guidance through basic strokes and your chosen Kanji
- A completed shikishi artwork to take home
- The included omiyage souvenir key-chain
- Translation and support so you can understand the steps while you write
Food and drinks are not included, but you can grab drinks from vending machines outside the temple. That keeps the price focused on the art lesson rather than packaging.
If you’re deciding between this and a more generic craft stop, the difference is the instruction level. This class is built around skill practice, not only decoration. That’s why people often rate it highly as a standout Kyoto activity: it ends with something personal and usable in real life, not just a temporary item.
Who This Kyoto Calligraphy Class Is Best For
This experience is a strong match if you want a traditional Kyoto activity that doesn’t require you to be “good at art.” The workshop is set up for beginners: you start with basic lines, then build up to your final Kanji.
It also works well for:
- Couples who want a shared activity that ends with a matching memory
- Solo travelers who want calm, structured instruction plus translation support
- Families with older kids who can sit on tatami and follow step-by-step directions
There are clear limits. It’s not suitable for children under 2, 3, 4, and 5 (so effectively, don’t plan on it for very young kids). It’s also marked as not suitable for visually impaired people and for babies under 1.
On the other hand, it is wheelchair accessible, which is a real plus. Just keep in mind the tatami seating setup: even with accessibility noted, most people sit on the floor with zabuton and desks are limited. So you’ll want to think about what works best for your comfort needs.
Practical Tips So Your Kanji Comes Out Looking Like You Meant It
Here’s how to get the best final piece without wearing yourself out:
- Choose your word/Kanji in advance if you can. The class provides examples, but coming prepared reduces stress.
- Don’t start by forcing the final character. Practice lines first. That’s where the shape control comes from.
- Pace your practice. If you write too much, your arm gets tired and your final look can suffer.
- Sit steady before you write. Floor sitting affects your stroke control, so take a minute to find a stable posture.
- Follow stroke order and correction cues from the teacher. The guidance you get while writing is part of the value.
If you’re left-handed, you might find it more challenging at first, since many brush techniques are easier for right-handed writing. The good news is that the class environment is relaxed enough to try, learn, and adjust during the session.
Also: this is not an ink-and-brush free-for-all. There are rules like no smoking, no vaping, no alcohol or drugs, and no bare feet. You’ll want proper footwear or socks based on what you’re comfortable with.
Should You Book This Kyoto Calligraphy Workshop at Seigan-ji?
If your goal is a Kyoto activity with real cultural practice and a take-home result, I think this is a solid booking. The temple setting adds meaning, the instruction is structured enough for beginners, and the end product is personal: your own Kanji on shikishi plus a small souvenir key-chain.
You should consider skipping if floor seating on tatami is a deal-breaker for you, or if your group needs silent, minimal interaction. Also, if you show up with zero idea what you want to write and you hate making decisions on the spot, spend a few minutes planning before you go.
For most people, this hits the sweet spot: calm, hands-on, guided practice, and a keepsake you’ll actually keep.
FAQ

How long is the calligraphy class in Kyoto?
The workshop lasts about 70 minutes.
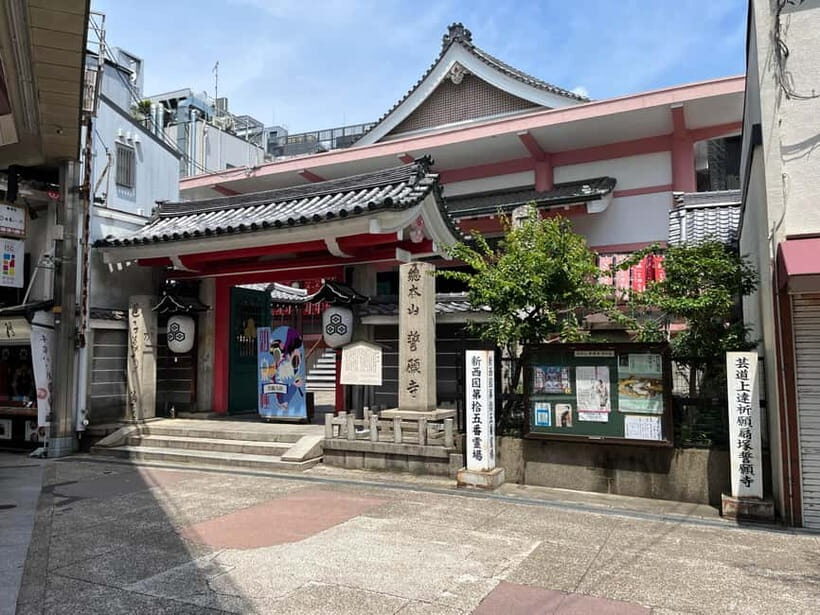
What should I do at the meeting point for Seigan-ji Temple?
Meet in front of Seigan-ji Temple on the Shinkyogoku shopping street. Look for the person holding a red lantern on a stick under the roofed street. Wait at the front and look for that person rather than going up the stairs or asking the monks for confirmation.
Is food or drinks included?
No. There’s no food or drinks served, but you can buy drinks from vending machines outside the temple.
Do I need to bring my own word or Kanji?
You should think of a word/Kanji you’d like to write before you go. Examples are provided, but having a few ideas ready helps.
What do I get to take home?
You take home your finished calligraphy artwork written on a shikishi, plus a souvenir key-chain made with your chosen character.
How many people are in the group, and where will we sit?
The class is limited to 6 participants. The session is in a washitsu with tatami flooring, and most guests sit on the floor using zabuton, with some limited desks available.