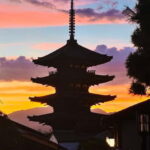
Kyoto changes the way you see light. This private Kyoto photography masterclass is a smart mix of daytime texture and after-dark glow, with personalized instruction as you walk. I like that the lesson is aimed at improving your images, not just sightseeing, and I especially like how the night part focuses on real techniques like long exposure and steady framing. One possible drawback: this is a photo-first route, so if you want lots of free time to wander on your own, you’ll feel the pace is guided.
The class moves through classic spots like Gion and Pontocho, then pushes into the harder stuff—temple lights, lantern reflections, and the settings that make night photos look calm instead of blurry. In my experience with photographer Irven (who has led sessions with a very patient, step-by-step approach), you’ll get shot review during the lesson and reset for better results. If you show up hoping for a tripod you don’t have to ask for, just know a tripod is available upon request, not guaranteed by default.
In This Review
- Key Things You’ll Appreciate About This Private Photo Lesson
- Kyoto Photography Masterclass: Why This City Makes You a Better Photographer
- A Real 3-Hour Private Lesson (Not a Racing Walk)
- Starting in Higashiyama: Where You Begin Shapes Your Photos
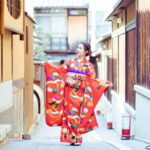
- Gion by Day: Texture, Machiya Angles, and Street-Level Storytelling
- Pontocho District and the Lantern Problem (In a Good Way)
- Gion Corner and Minamiza Theater: Photography With Cultural Context
- Yasaka Shrine to Hokan-ji: Calm Streets and Details That Hold Up
- Koju Ninenzaka and Kiyomizudera at Night: Long-Exposure Practice That Feels Real
- Night Photography Coaching: The Skills You Can Reuse Tomorrow
- Gear and What You Need to Bring (Camera Included: Not Here)
- Guide Team and How English Support Helps You Learn Fast
- Value Check: Is $170 Worth It for a Private Photo Lesson?
- Who Should Book This Kyoto Photo Masterclass
- Book It or Skip It: My Honest Take
- FAQ
- How long is the Kyoto photography masterclass?
- Is this a private tour or shared group activity?
- Where does the tour start?
- What are some of the stops on the route?
- Do I need to bring my own camera?
- Is a tripod provided?
- Will there be an English-speaking guide?
- Is the lesson suitable for beginners?
- What’s the cancellation policy?
- Are service animals allowed?
Key Things You’ll Appreciate About This Private Photo Lesson
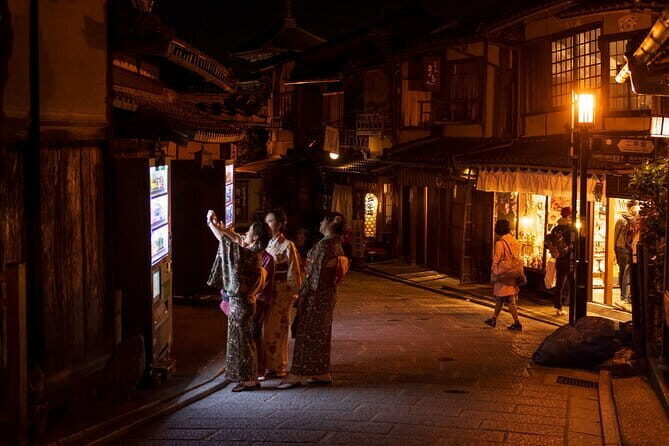
- Day-to-night coverage across Gion, Pontocho, and a lit Kiyomizudera visit
- Personal camera coaching on settings and composition while you’re shooting, not after
- Night photography focus with long-exposure practice and troubleshooting in real time
- Patient guidance and shot review with time to reset and try again
- Tour ends where it starts, so you’re not left scrambling for your own way back
Kyoto Photography Masterclass: Why This City Makes You a Better Photographer
Kyoto is a cheat code for photos. You get architecture with repeating shapes, streets that funnel your eye, and layers of light—warm lanterns, dark doorways, and temple illumination. That mix matters because good photography isn’t only about having a pretty scene. It’s about control: how you frame, how you expose, and how you keep your subject crisp while the background glows.
This masterclass leans into that. Daytime portions help you see patterns and textures up close, while the night portion forces you to handle the classic trouble spots: motion blur, messy highlights, and focus that drifts when the light is low. If you’ve ever taken a night shot that looks flat or smudgy, this is the kind of lesson that helps you figure out why—and fix it.
Other private tours in Kyoto
A Real 3-Hour Private Lesson (Not a Racing Walk)
This is a private, three-hour photo tour, so the route and pacing work around your group, your skill level, and what you’re trying to learn. The biggest value in a private lesson is attention. Instead of watching what someone else does, you get instruction tied to what you’re holding right now.
Three hours also means you’re not stuck in a half-day project. You’ll concentrate on a set of locations and come away with a clearer method for shooting in Kyoto—especially at night—rather than collecting a stack of random images.
One practical note: you’re walking between stops, and the timing is built around light and photo opportunities. Wear shoes you can move in comfortably, and plan to stay engaged. This type of lesson rewards people who are ready to shoot, review, and adjust.
Starting in Higashiyama: Where You Begin Shapes Your Photos
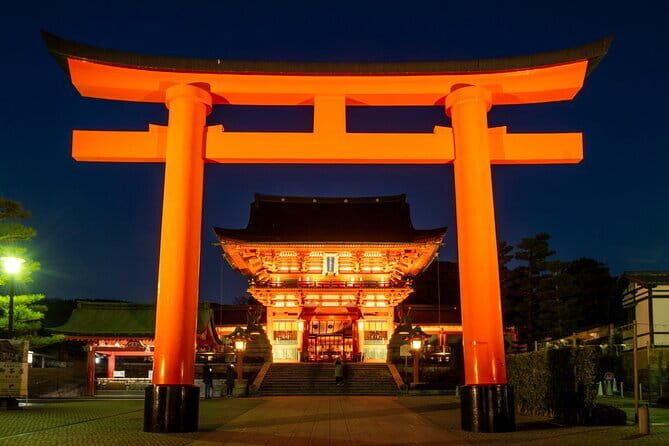
You meet at the Statue of Izumo-no-Okuni, in Kawabatacho, Higashiyama Ward. That matters because it puts you in the right part of Kyoto to start with streets that have depth—buildings that lead your eye forward and angles that help with composition.
I like starting right here because the lesson can get hands-on quickly. Early in the walk, you’ll be able to get a feel for how your camera settings behave in Kyoto’s mixed light. And since the activity ends back at the same meeting point, you’re not doing the mental math of where to go next. You can focus on shooting.
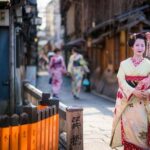
Gion by Day: Texture, Machiya Angles, and Street-Level Storytelling
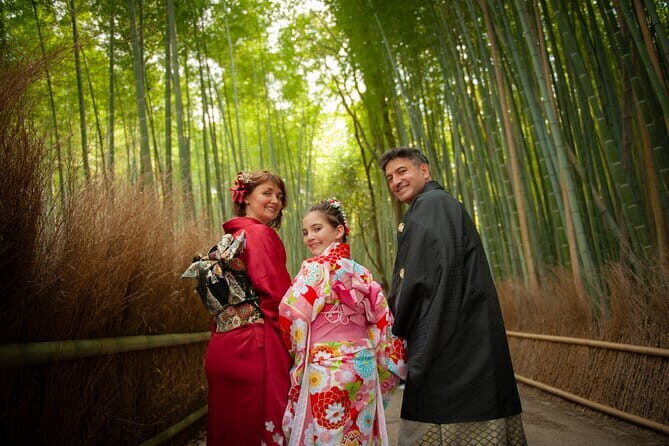
The Gion stop is where the tour gives you structure for daytime Kyoto photography. You’ll work through street scenes and traditional building details—wooden machiya-style textures, narrow sightlines, and classic cultural cues.
What I think makes this stop useful is the way it trains your eye. Instead of aiming for only the postcard view, you’re encouraged to look for:
- repeating patterns in doorways, rails, and rooflines
- the contrast between traditional facades and modern edges
- compositional choices that create depth down a street
Daylight Gion is also a good warm-up for the night portion. If you can learn to frame well in bright conditions, night becomes a settings challenge, not just an artistic one.
Pontocho District and the Lantern Problem (In a Good Way)
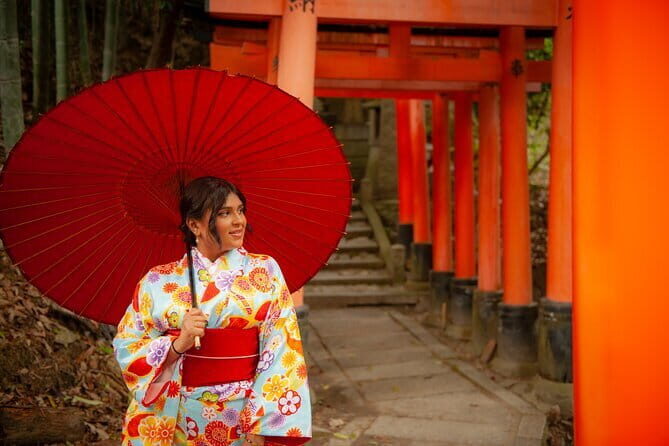
Pontocho is where Kyoto’s light turns photographic. The alley feel and the lantern glow create a background that’s beautiful but difficult—bright points of light, reflections on wet-looking surfaces, and darker areas that fool your camera’s auto settings.
This is the moment where your coaching becomes practical. You’re not just told that night is hard. You get guidance on how to translate the same “composition skill” you used in Gion into a low-light setup.
If you’re the kind of person who has always relied on auto mode at night, this stop is a turning point. The lesson’s camera instruction is designed to help you make confident exposure choices instead of hoping your camera guesses correctly.
Other photography tours in Kyoto
Gion Corner and Minamiza Theater: Photography With Cultural Context
The itinerary includes Gion Corner and Minamiza Theater, which gives you more than scenery. These are built environments where signage, stage-like facades, and architectural lines can guide your framing.
Here’s how I’d use these stops in your own head: treat them like composition exercises. Look for lines that pull the viewer toward a subject. Use foreground elements to add depth. And keep an eye on how light hits surfaces—especially where bright areas meet shadow.
This is also a useful break from only street wandering. When you’re photographing cultural landmarks, it’s easy to forget storytelling. These stops help you practice that middle ground between architecture and atmosphere.
Yasaka Shrine to Hokan-ji: Calm Streets and Details That Hold Up
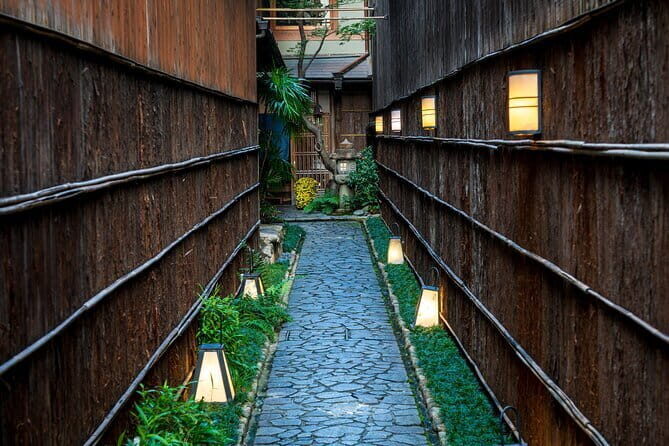
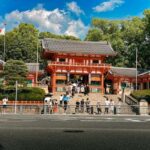
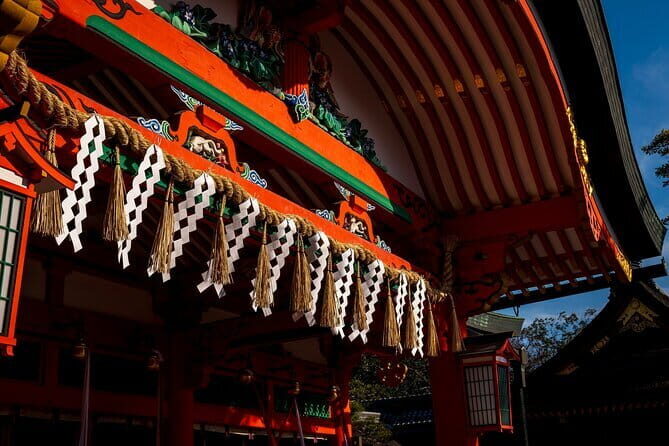
Next up is Yasaka Shrine, followed by Hokan-ji Temple. These areas are great for texture-based photography. You’ll encounter strong shapes, layered surfaces, and places where the light is more controlled than it is in an alley full of lanterns.
This part of the lesson is valuable because it teaches you not to chase only the brightest objects. Kyoto has lots of meaningful scenes with lower contrast. If your night photos always look overly bright, this is a good counterweight: it helps you practice exposure restraint and cleaner composition.
Also, temple areas tend to encourage slower attention. You can take a breath between tricky shots and reset your approach for the next section.
Koju Ninenzaka and Kiyomizudera at Night: Long-Exposure Practice That Feels Real
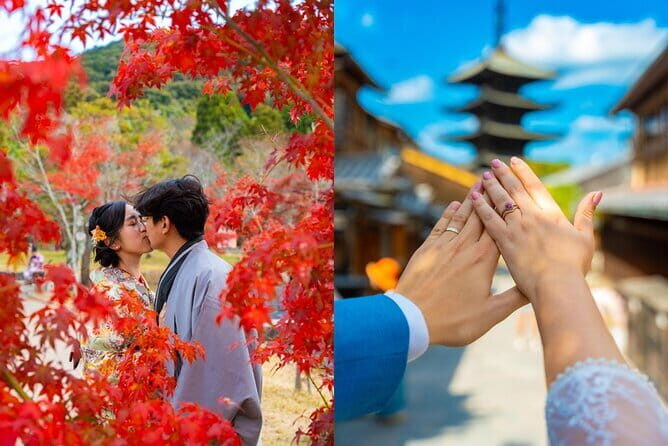
The walk includes Koju Ninenzaka and then ends at Kiyomizudera Temple under night lighting. This is the hardest payoff portion of the tour, and it’s exactly where photography lessons should earn their keep.
Ninenzaka slopes can be great for photos because they create leading lines and natural “depth funnels.” You can frame the slope like a corridor and include buildings that step down with the street. Even small changes in angle can make a huge difference here, which is perfect for a guided session.
Then comes Kiyomizudera at night. Temple lighting brings a new set of challenges:
- bright sources can blow out highlights
- dark areas can swallow detail
- camera shake becomes obvious at slower shutter speeds
This is where the masterclass leans into long exposure and stability. One of the strongest praises from a prior session led by Irven: he brought a tripod, stayed patient, and helped refine shots by reviewing what was working, then resetting and trying again. That review loop is where improvement happens.
If you’ve tried long exposure on your own, you know the frustration: you get one decent shot and then the rest look soft or uneven. In a structured lesson, you learn what to change—settings, framing, or support—so your chances improve fast.
Night Photography Coaching: The Skills You Can Reuse Tomorrow
The night session isn’t just about taking pictures of lit places. It’s about mastering the mechanics so your results hold up beyond Kyoto.
Expect a focus on:
- long exposure so light trails and glow look intentional
- steady framing and reducing camera shake
- learning camera settings for low light and mixed illumination
- composition choices that keep temple lighting from becoming visual clutter
Here’s what you should aim to do during the lesson: shoot a few frames, pause, and pay attention to why a frame looks better than the last. The coaching encourages this exact habit. When you review your shots during the class, you stop guessing and start understanding.
If you want one mindset shift: night photography is less about bravery and more about process. Slow down, stabilize, and let the light do the work.
Gear and What You Need to Bring (Camera Included: Not Here)
The tour includes a local guide and a professional photographer guide, plus a licensed English-speaking in-person local guide. But it does not include a camera.
So bring the camera you want to practice with. If you’re using a phone, you might still be able to apply composition ideas and night exposure habits, but the lesson’s focus on camera settings suggests you’ll get the most value with an actual camera.
Tripod guidance is a key detail: a tripod is available upon request. That means if you rely on a tripod for long exposures, it’s smart to mention your needs right away so you’re not improvising halfway through the night.
Guide Team and How English Support Helps You Learn Fast
Having both a local guide and a professional photographer guide changes the feel of the experience. The local guide keeps you grounded in Kyoto’s context—where to stand, what to pay attention to, and how to read the scene. The photographer guide translates that into technique: camera settings, composition, and what to adjust when the light behaves badly.
Because the tour uses an English-speaking guide on-site, you’re not stuck translating in your head. You can ask specific questions about what you’re seeing in your viewfinder and on your screen.
Value Check: Is $170 Worth It for a Private Photo Lesson?
At $170 per person for about three hours, you’re paying for something most people don’t get on general walking tours: direct coaching tied to your camera and your results.
Private photography lessons tend to be worth it when:
- you want to improve, not just collect images
- you’re struggling with night photos
- you’re learning composition and settings in real locations
- you don’t want to waste time figuring things out after the trip
If you’re an advanced photographer who already knows your way around long exposure in low light, you might still enjoy the locations and guidance—but the value comes most clearly if you’re actively working on technique.
Also, the lesson is often booked around a month ahead. That’s a good sign. If you want an evening slot that lines up with night lighting, plan ahead rather than waiting for the last week.
Who Should Book This Kyoto Photo Masterclass
This experience is designed for different skill levels, and most people can participate. It’s a great fit if you:
- want to learn night photography with coaching in Kyoto
- like structured practice with feedback and shot review
- enjoy walking through iconic neighborhoods like Gion and Pontocho
- want a private route with instruction tailored to your needs
It may not be ideal if your main goal is relaxed sightseeing with minimal focus on settings. This is a hands-on lesson where you’ll be expected to shoot and adjust.
Book It or Skip It: My Honest Take
You should book this if you want your next Kyoto photos to look more intentional, especially at night. The combination of daytime street practice and a focused night session at places like Kiyomizudera gives you a complete learning arc in one trip.
Skip it if you’re mainly after free time, big-ticket sightseeing schedules, or a tour that doesn’t care about your camera settings. In that case, you might prefer a more general walking tour.
If you’re on the fence, the simplest decision rule is this: if you care about learning how your photos turn out, a private lesson like this is one of the most efficient ways to get better in a single afternoon and evening.
FAQ
How long is the Kyoto photography masterclass?
It’s about 3 hours.
Is this a private tour or shared group activity?
It’s private, so only your group participates.
Where does the tour start?
The tour starts at the Statue of Izumo-no-Okuni, Kawabatacho, Higashiyama Ward, Kyoto.
What are some of the stops on the route?
The route includes Gion, Pontocho District, Gion Corner, Minamiza Theater, Yasaka Shrine, Hokan-ji Temple, Koju Ninenzaka, and Kiyomizudera Temple.
Do I need to bring my own camera?
Yes. A camera is not included.
Is a tripod provided?
A tripod is available upon request.
Will there be an English-speaking guide?
Yes. You’ll have a licensed English-speaking in-person local guide, along with a professional photographer guide.
Is the lesson suitable for beginners?
Most travelers can participate, and the tour is tailored to your skill level.
What’s the cancellation policy?
You can cancel for free up to 24 hours in advance for a full refund.
Are service animals allowed?
Yes, service animals are allowed.