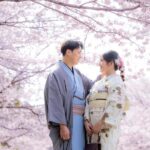
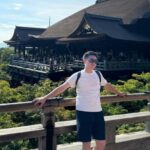
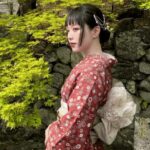
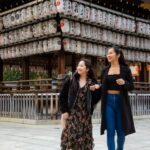
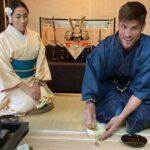
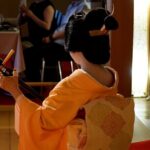
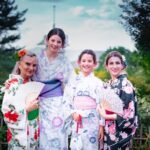
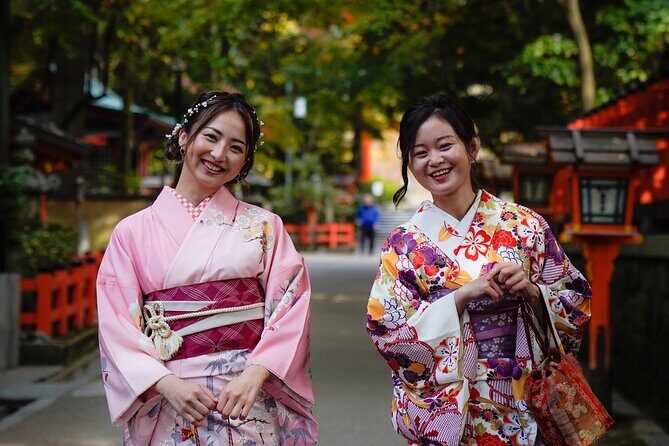
Kyoto in kimono turns every corner into a postcard. This tour is built around portrait-friendly timing and a small group size (up to 6), so you get real chances to pause, pose, and shoot at classic Kyoto spots and quieter streets nearby. You also choose a morning or afternoon session, which matters a lot for flattering light.
I especially love that you end up with professionally edited photos from a guide who helps you work a camera-friendly rhythm. Photographers like Yuta and Mina are praised for being patient, giving posing tips, and moving efficiently so you still have fun even when the schedule gets tight.
One thing to think through first: the kimono isn’t included. You select a kimono from a store you prefer, so you’ll want to plan that extra step ahead of time.
In This Review
- Key things I think you’ll care about
- The big idea: a guided portrait walk that stays photo-focused
- Why the lighting choice (morning or afternoon) really matters
- Kimono planning: what you control and what you should prepare
- Your route in detail: Yasaka Shrine to Yasaka Pagoda
- Stop 1: Yasaka Shrine (20 minutes, free)
- Stop 2: Maruyama Park (20 minutes, free)
- Stop 3: Chion-in Temple and the Sanmon Gate (20 minutes, free)
- Stop 4: Ishibe Alley (10 minutes, admission ticket not included)
- Stop 5: Nene-no-Michi (10 minutes, free)
- Stop 6: Yasakanoto Pagoda at Hōkan-ji (10 minutes, free)
- What you actually get: guide help + edited photos
- Price value: $85.87 for a small-group, edited result
- Who this tour suits best (and who might rethink it)
- Small practical tips so you get the shots you want
- Should you book the Kyoto Portrait Tour with Kimono?
- FAQ
- How long is the Kyoto Portrait Tour with Kimono?
- What is the price per person?
- Are professionally edited photos included?
- Is the kimono included in the tour price?
- Where do I meet the guide, and where does the tour end?
- What is the group size limit?
- Is there free cancellation?
Key things I think you’ll care about
- Small group (max 6): enough time for multiple shots at each stop instead of a quick selfie rush
- Morning vs afternoon: you can choose your lighting mood before you arrive
- Edited results included: you leave with polished photos, not just camera rolls
- A mix of big landmarks and quieter lanes: shrine gates, gardens, then narrow Kyoto alley vibes
- Guided posing help: photographers help you look comfortable while shooting
- Kimono is your call: you can pick the look from your preferred rental store (not included)
The big idea: a guided portrait walk that stays photo-focused
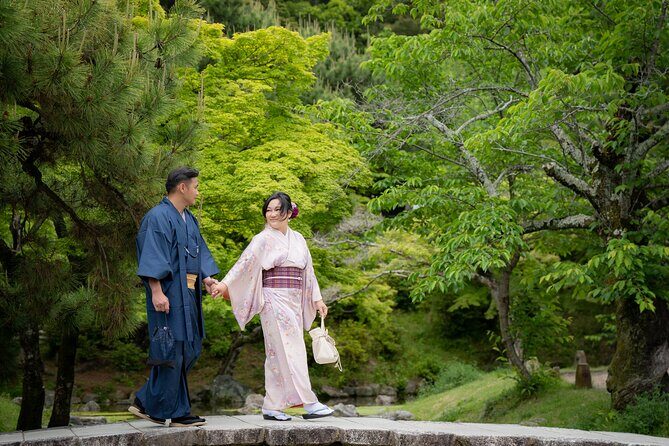
This is not a long, lecture-style sightseeing day. It’s a 1 hour 30 minutes portrait tour that uses a tight route through Higashiyama, starting near the Gion area and ending at the Yasaka Pagoda area. The pacing is the point. You stop often enough to get variety in backgrounds, but you’re not stuck in one place for ages.
What makes it work for most people is the balance between structure and flexibility. You get specific shooting locations (shrines, a temple gate, a garden, and a few streets), but you’re also encouraged to choose the time of day. In Kyoto, that choice changes everything: morning light feels softer, while afternoon gives you more dramatic shadows and warmer tones.
And because the tour caps at 6 people, you’re far more likely to get clean compositions without constant crowd-blocking. Even so, Kyoto is Kyoto—so having a photographer who knows when to wait for the flow of people is a big deal.
A few more Kyoto tours and experiences worth a look
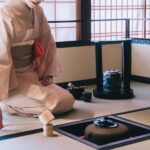
Why the lighting choice (morning or afternoon) really matters
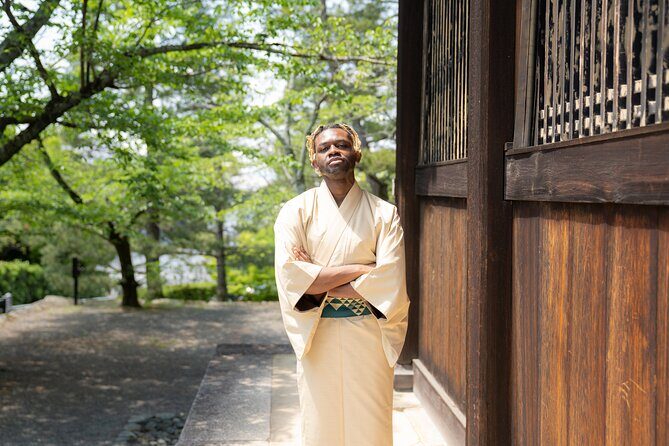
This tour lets you pick either a morning or afternoon session. That’s not a small detail. In portrait photography, light affects how your face shows up, how kimono colors read in photos, and how bright or harsh the background looks.
Morning sessions often give you a calmer atmosphere at major landmarks. You tend to get fewer crowds, and the light is usually gentler, which is flattering for both single portraits and couples. Afternoon sessions can be more energetic, with richer contrasts and a stronger sense of Kyoto’s day-to-day life.
If you’re investing in edited photos, you want the base material to be strong. Choosing the session that matches your comfort level is one of the best “do this, not that” decisions you can make on this kind of tour.
Kimono planning: what you control and what you should prepare
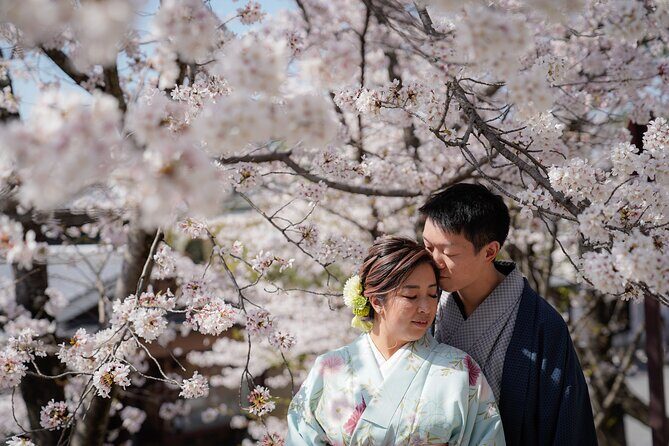
The kimono is not included, but you do get flexibility in what you wear. The setup says you can choose your preferred kimono (from your preferred store). That means you’re not stuck with whatever a tour partner decided is easiest.
In practice, this is where a little planning saves stress. You’ll want enough time to handle rental pickup and get dressed, and you’ll want your kimono to fit comfortably for walking and posing.
A kimono can also change how you move during photos. Some poses look natural with relaxed posture; others need a confident stance. This is where having a patient photographer matters. Names like Yuta and Takuma show up in the feedback as people who help with posing and keep things comfortable—especially for first-timers.
Your route in detail: Yasaka Shrine to Yasaka Pagoda
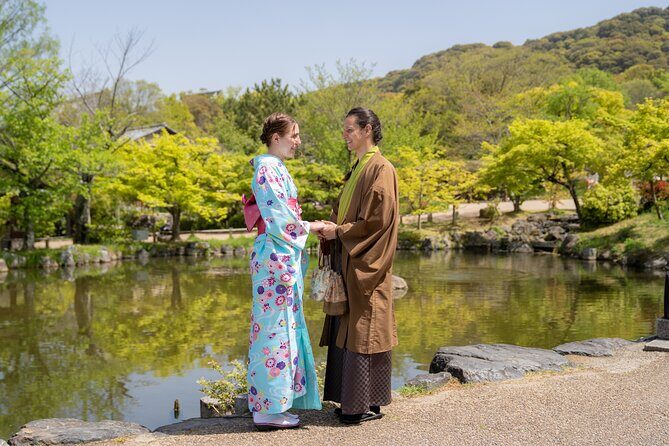
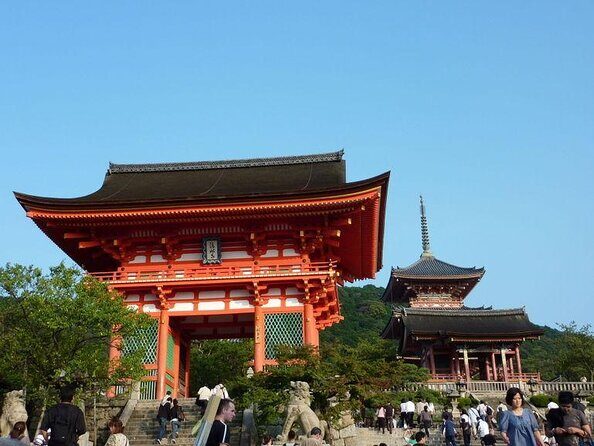
You start at Yasaka Jinja Nishiromon Gate (Western Tower Gate) in Gionmachi Kitagawa, and you finish at Hōkan-ji Temple (Yasaka Pagoda). The route is designed like a story: iconic entrance moments first, then gardens and temple architecture, then narrow lanes, then the pagoda finale.
Each stop is short—think quick portrait sessions you can enjoy without feeling like you’re stuck waiting around. Here’s what you can expect at each location and why it works for photos.
Stop 1: Yasaka Shrine (20 minutes, free)
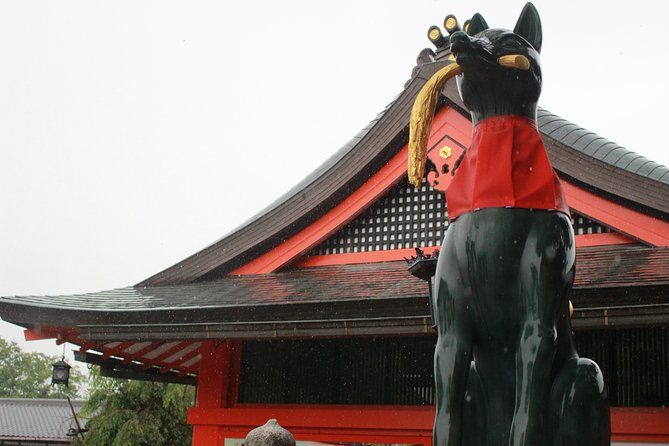
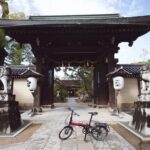
You begin at Yasaka Shrine, a famous Kyoto landmark with a classic traditional look. This first stop is ideal for establishing photos with that Kyoto “front door” feel—clean sight lines, shrine atmosphere, and a sense of place right away.
Because it’s near your meeting point, it helps you settle in fast. If you’re wearing a kimono, this is also a strong starting moment because the background matches the outfit’s style.
Practical note: aim to arrive a bit early so you don’t feel rushed when the shoot starts.



Stop 2: Maruyama Park (20 minutes, free)
Next is Maruyama Park, known as Kyoto’s oldest park. This location shines when seasonal elements are in play. In early April, cherry trees start blooming, and the park’s traditional garden style makes portraits look soft and elegant.
If you love photos where the background doesn’t scream tourist, this stop often delivers. It gives you a calmer, more park-like mood compared with temple gates and crowded streets.
Stop 3: Chion-in Temple and the Sanmon Gate (20 minutes, free)
Then you hit Chion-in and specifically the Sanmon Gate, described as the largest wooden temple gate in Japan—about 24 meters tall and 50 meters wide. For portraits, that scale matters. Big architecture frames your subject and makes the images feel cinematic even with quick pose changes.
You also get history context during the stop, which helps you photograph with intention rather than just aiming the camera. A good sense of what you’re looking at often translates into better body language in photos.
Stop 4: Ishibe Alley (10 minutes, admission ticket not included)
Ishibe Alley is where the tour shifts into more intimate Kyoto texture: a hidden-feeling alley surrounded by traditional architecture. It’s shorter in time, but it’s the kind of place that adds variety to your photo set—more narrow, more character, more “walked-through-Kyoto” energy.
One practical catch: the stop notes that an admission ticket is not included. So if there’s any small fee at the alley entrance, it’ll be on you.
Also, alley spaces can feel tight for kimono silhouettes. The good news: a photographer who understands posing can help you stay comfortable while still getting shots that look natural.
Stop 5: Nene-no-Michi (10 minutes, free)
Nene-no-Michi is guided as a flagstone walkway. The seasonal note here is great for planning your timing: in autumn, you can see lots of red leaves, and it also sits close to Kodaiji, so the atmosphere around this area can be lively.
For portraits, stone paths are helpful because they add texture and depth lines. Even if the background is busy, the walkway itself gives the photo a clear direction.
Stop 6: Yasakanoto Pagoda at Hōkan-ji (10 minutes, free)
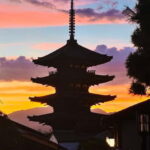
You finish at Yasakanoto Pagoda, also called the five-storied pagoda. It’s one of Kyoto’s most visible landmarks, which makes it a strong final backdrop.
This stop is built for a wrap-up gallery: portraits with a recognizable pagoda silhouette, plus your last few kimono shots before you transition into the surrounding area.
You end in front of Yasaka Pagoda, and the tour includes travel tips around this area, which is useful if you want to keep exploring after the shoot.
What you actually get: guide help + edited photos
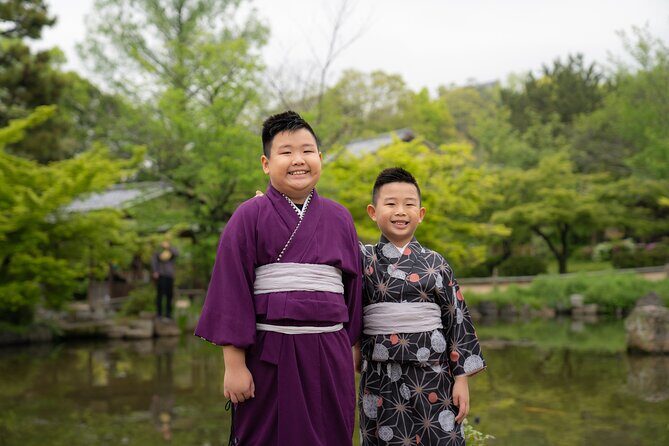
The included items are simple and valuable: you get a guide plus professionally edited photos.
Why that matters: photo tours can be hit or miss when you’re left with raw images and no guidance. Here, the photos aren’t treated like an afterthought. The session is designed to collect good angles, and then editing brings it together.
From the feedback-style details in the info you provided, the photographers’ approach is a key part of quality. People like Cocoro and Soma are noted for taking their time, waiting for people to clear for clean shots, and giving posing cues. That kind of attention makes the difference between decent vacation photos and images you’ll actually print.
Also, the tour is mobile-ticket based, which usually means less hassle at check-in and fewer moving parts on the day.
Price value: $85.87 for a small-group, edited result
At $85.87 per person, this tour sits in the category of “worth it if you care about photos” rather than “worth it if you mainly want a stroll.” Your biggest value boosters are:
- Small group size (max 6): time and space for photos
- Edited photos included: you’re paying for end results, not just walking
- Built-in route: multiple backgrounds in a short window
- Guided posing: especially helpful if you’re traveling solo or just aren’t sure what to do with your hands
Your main cost add-on is the kimono, since it’s not included. That means the all-in price depends on how you handle kimono rental.
If you already planned to rent a kimono anyway, this can feel like a smart bundle: you get both outfit time and a structured portrait session.
Who this tour suits best (and who might rethink it)
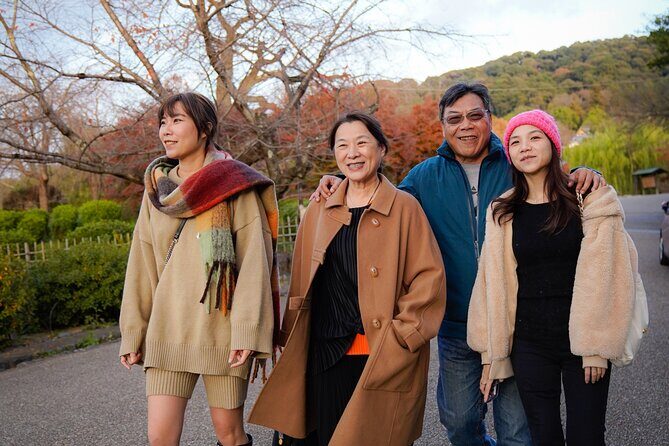
This is a great fit if you want high-quality portraits without worrying about timing, posing, and where to stand. It’s also ideal if you’re traveling solo. When you don’t have someone else to photograph you, having a patient photographer who helps you look natural is a huge confidence boost.
It’s also a good choice if you love Kyoto landmarks but want a bit more than the busiest angles. The route mixes iconic spots (like Yasaka Shrine and the Chion-in gate) with narrower streets and a stone walkway vibe.
You might consider another option if you hate structured time. Stops are short, and the whole thing runs like a photography schedule. You’re there to get photos, not to linger for long stretches.
Small practical tips so you get the shots you want
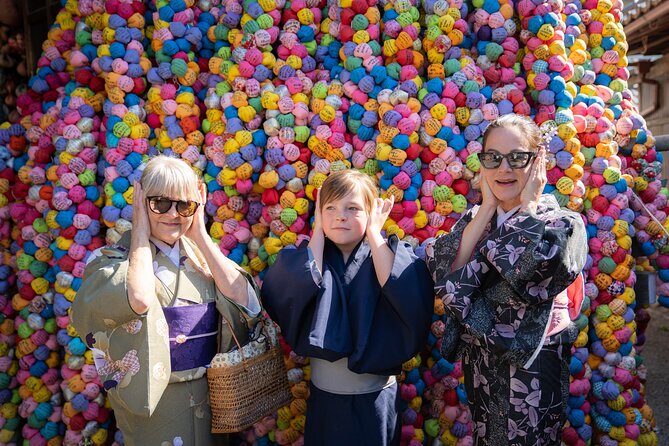
A few things I’d do to make the session smoother.
- Pick your session honestly. If mornings help you relax, choose morning. If you want warmer tones, choose afternoon.
- Plan your kimono timing. Since the kimono isn’t included, build buffer time so you don’t show up rushed.
- Arrive early and be ready. You start at Yasaka Jinja Nishiromon Gate, and the tour is only about 90 minutes.
- Communicate preferences quickly. If you know you want specific angles or a certain mood, tell your photographer early so they can build your shot list.
- Expect a mix of architecture and street texture. You’ll go from large gates to alley space, so your variety is automatic.
The goal is simple: show up comfortable, let the photographer run the flow, and you’ll get a gallery that feels like Kyoto rather than like a checklist.
Should you book the Kyoto Portrait Tour with Kimono?
I’d book it if you want edited portrait photos from a route that hits the classics and also includes quieter streets. The max 6 group size is a real quality signal because it gives the session breathing room. Add in the ability to choose your morning or afternoon lighting, and it becomes a thoughtful way to turn a kimono day into something you’ll keep.
I’d think twice if you’re expecting the kimono to be handled for you, because it’s not included. Also, if you want lots of free time to roam on your own, the time-boxed stops won’t feel as satisfying.
If you’re the kind of traveler who wants Kyoto photos that look intentional—get this on your schedule. It’s one of the few ways to make a short, focused day produce results you’ll actually frame.
FAQ
How long is the Kyoto Portrait Tour with Kimono?
The tour lasts about 1 hour 30 minutes.
What is the price per person?
The price is $85.87 per person.
Are professionally edited photos included?
Yes. The tour includes professional edited photos along with the guide.
Is the kimono included in the tour price?
No. A kimono is not included. The experience says you can choose a kimono from your preferred store.
Where do I meet the guide, and where does the tour end?
You start at Yasaka Jinja Nishiromon Gate (Western Tower Gate) in Gionmachi Kitagawa, Kyoto, and you end at Hōkan-ji Temple (Yasaka Pagoda).
What is the group size limit?
The tour has a maximum of 6 travelers.
Is there free cancellation?
Yes. You can cancel up to 24 hours in advance for a full refund.