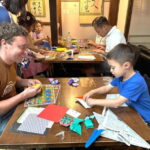
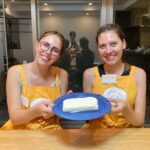
Edible art in just an hour. This Nerikiri workshop gives you real hands-on shaping of Japanese traditional sweets, using Kyoto-made red and white bean paste, and then you get to enjoy what you make. You’ll create two seasonal sweets, including a flower-style piece and a Kinton Nerikiri, then you’ll plate, photo, and eat on-site.
I especially like how the class is short and calm: 65 minutes from start to finish, with a clear step-by-step flow and enough structure that you’re not lost. I also like the value angle—your price covers the making itself, and the best part is you don’t just watch. You eat what you shape.
One thing to consider: the experience runs in Japanese, with English translation provided as much as possible. If you want very detailed, constant coaching in English, you might need to rely more on visuals and timing than on one-on-one explanation. Also, there’s no elevator in the building, so expect stairs.
In This Review
- Key highlights worth your time
- Finding the Nerikiri workshop near Gojo Station
- What Nerikiri really is (and why it’s different from other sweets)
- Your 65-minute flow: from explanation to flower-shaped and Kinton Nerikiri
- Start with the basics (before your hands get busy)
- Flower-shaped Nerikiri making
- Kinton Nerikiri making
- Picture time, then eating time
- The ingredient story: Kyoto bean paste you actually work with
- Plating, photos, and the best part: eating what you made
- Price and extras: what you’re really paying for
- Language reality: how to make the class work even if English is limited
- Is Nerikiri shaping for you? Best-fit travel styles
- Should you book this Nerikiri workshop?
- FAQ
- How long is the Nerikiri making experience?
- What sweets will I make during the class?
- Can I eat the sweets on the spot?
- Is there English help during the class?
- Where is the meeting point?
- What is not included in the base price?
Key highlights worth your time
- Two seasonal Nerikiri sweets in one go, so you leave with more than one finished piece
- Kyoto long-established shop bean paste (white and red), the core ingredient you actually work with
- Flower-shaped Nerikiri plus Kinton Nerikiri, so you learn two different shaping styles
- Eat on the spot, built into the schedule, not something you do after the fact
- Gojo Station location makes it easy to fit into a Kyoto day without big transit stress
Finding the Nerikiri workshop near Gojo Station
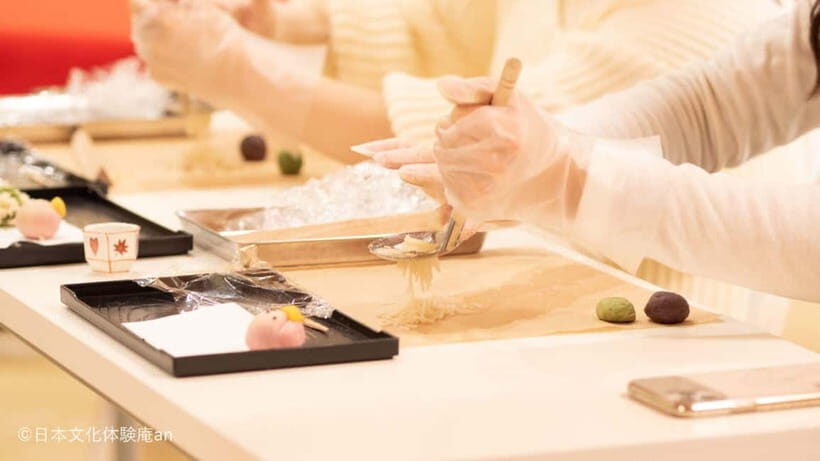
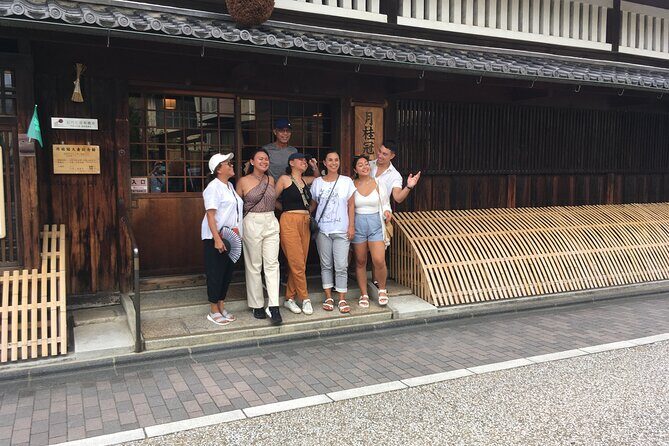
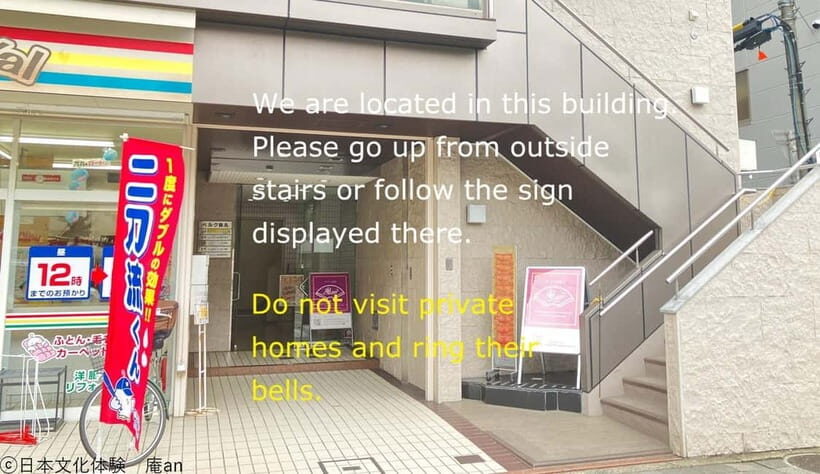
The meeting point is easy: it’s about a 1-minute walk from Exit 1 of Gojo Station on the Karasuma Line. The shop entrance faces Gojo-dori, so you’re not hunting down a hidden side street for long.
This matters because a short class like this depends on you arriving on time. The schedule moves, and they won’t hold the event for delays. If you’re pairing it with other plans (like lunch or a temple visit), I’d build in a little buffer so you’re not sprinting through Kyoto streets with sticky hands before you even start.
Also note the building setup: the workshop is wheelchair accessible, but there’s no elevator, and you’ll need stairs to reach each venue. If you’re traveling with mobility needs, it’s worth planning around that in advance so the day stays smooth.
A few more Kyoto tours and experiences worth a look

What Nerikiri really is (and why it’s different from other sweets)
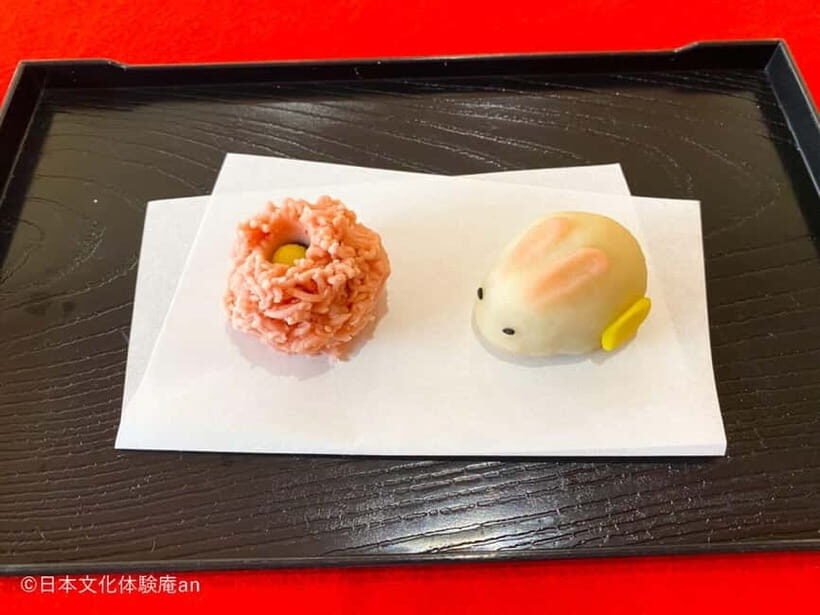
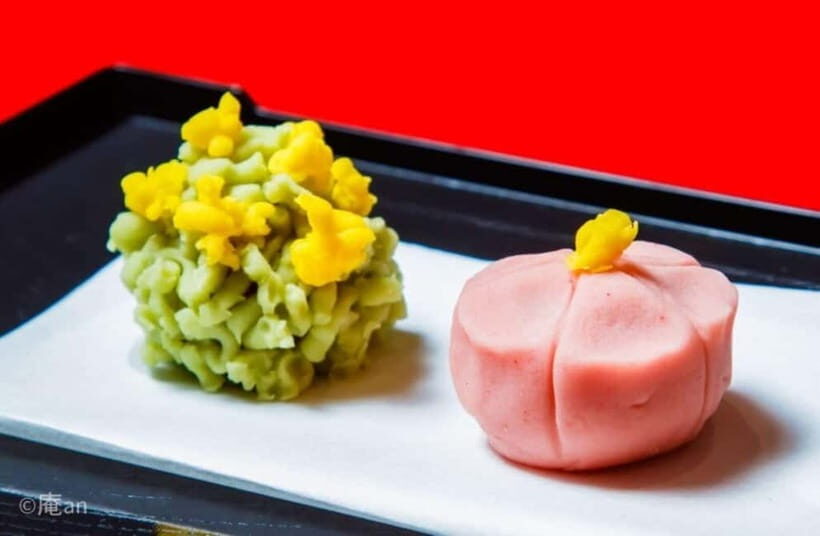
Nerikiri is a Japanese sweet known for its shaped look. It’s not just about being sweet. The whole point is form: petals, curves, and seasonal themes you can point to right away.
In this class, you’re working with the heart of Nerikiri: white and red bean paste. That paste is the material you shape and refine. When you’re done, you place your sweets on a plate—then it turns into “edible art” in a way that feels surprisingly satisfying for something you made with your own hands.
Because the workshop is built around seasonal matching, you’re not making a random cookie-cutter dessert. The sweets change with the season, which keeps the experience feeling rooted in Japanese taste and timing rather than a generic activity.
Your 65-minute flow: from explanation to flower-shaped and Kinton Nerikiri
The class is designed like a neat little timeline. You’ll start, get guided basics, then move into hands-on shaping, with photo time and eating near the end.
Here’s how it typically runs:
Start with the basics (before your hands get busy)
Right at the beginning, you’ll get an explanation about Japanese traditional sweets. This is where you learn what you’re aiming for—how the paste should feel, what shapes you’re making, and what “finished” looks like.
Even if your Japanese is limited, this first stage helps a lot. You’re not just jumping into kneading. You’re learning the end goal before you work.
Flower-shaped Nerikiri making
Next comes the flower-shaped Nerikiri. This part is great if you like structure. You’re shaping something with clear visual cues—think petals and a clean silhouette rather than a free-form dessert.
This stage can also be the moment where you realize Nerikiri is partly about control. Small adjustments matter: pressure, smoothing, and getting a crisp edge. If you’ve never done this kind of molding, don’t worry. The experience is short on purpose, so you learn by doing rather than by studying for weeks.



Kinton Nerikiri making
Then you move to Kinton Nerikiri. The name matters less than the feeling: this is a second sweet with its own shaping approach. Doing two styles in one session is one of the best ways to learn faster because you see what changes between designs.
You’ll likely spend enough time on each to finish something you’re genuinely proud of, not just an unfinished “practice piece.” And because you’re making two, the session doesn’t feel like you’re rushing through one tiny result.
Picture time, then eating time
Toward the end you’ll have picture time. This is your chance to check your shapes and enjoy the visual payoff—especially nice if you’re traveling with a camera that usually only catches temple stairs and not edible details.
After that, you get eating time. This is a big deal. Many classes stop at the finish line. Here, the finish line includes taste.
The ingredient story: Kyoto bean paste you actually work with
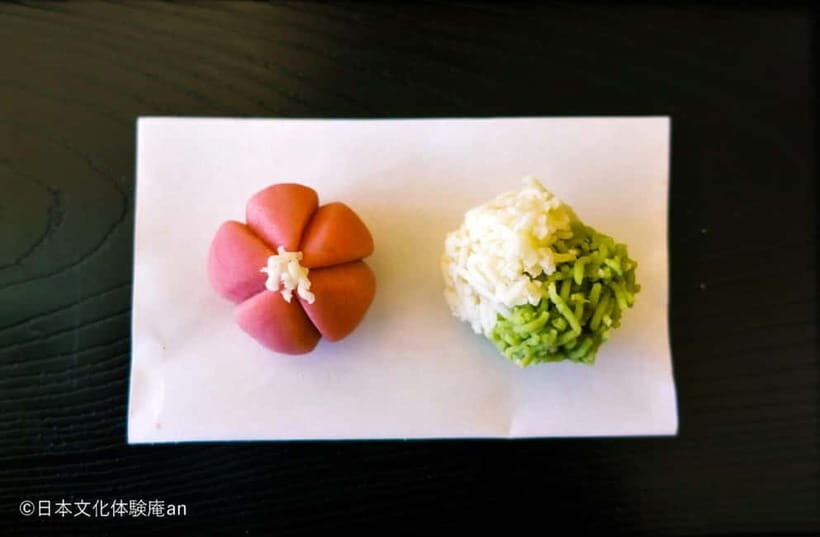
One of the standout details is the ingredient source: you use white/red bean paste produced by Kyoto’s long-established shops. That’s not a random marketing line—it’s the core because bean paste is the “working dough” of Nerikiri.
When your ingredient is consistent and high quality, your shaping feels more predictable. In a short workshop, that predictability is comfort. You’re not fighting a paste that’s too dry, too sticky, or wildly inconsistent.
Also, this detail ties your experience to Kyoto in a real way. It’s not just the location. You’re using a regional ingredient tradition directly in your hands.
Plating, photos, and the best part: eating what you made
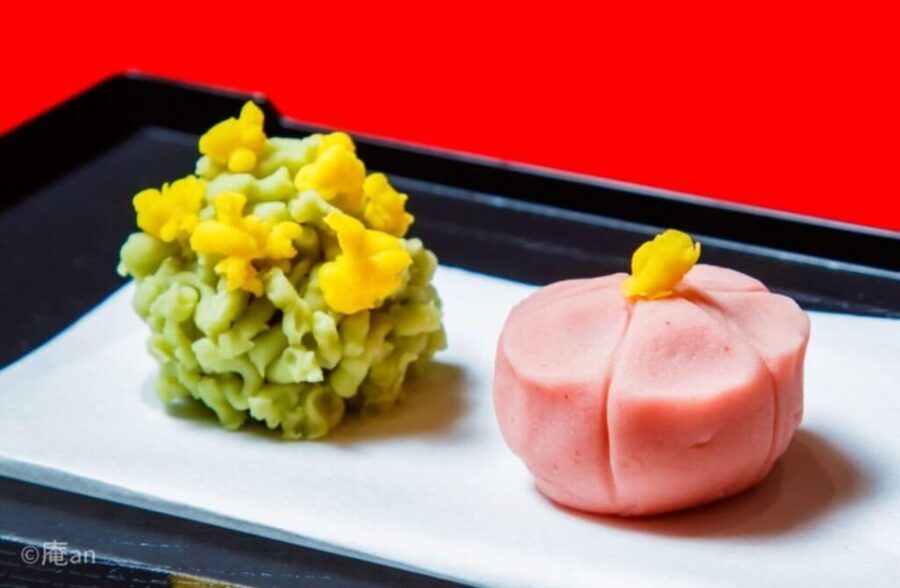
I’m going to say it plainly: the best moment is when you put your own finished Nerikiri on a plate and then get to eat it.
That might sound obvious, but it changes the whole feel of the class. When you’re responsible for the shape, you’re more attentive to texture. And when you eat it right away, you learn what matters—sweetness level, bean paste flavor, and how the design relates to the bite.
If you want to take something home, there’s an option for a sweets take-out box (100 JPY), but it’s not included. Most people will probably find it more fun to eat on-site because the workshop builds its timing around it.
And if you’re a matcha fan, there’s tatedashi matcha (500 JPY) available. It’s not part of the base fee, so decide if you want that extra pairing. For me, matcha works well when you want something to balance the sweetness of bean paste.
Price and extras: what you’re really paying for
The price is $11 per person for a 65-minute class that includes your Nerikiri making set. For that cost, you’re getting:
- enough instruction to shape two sweets
- the ingredient base (the bean paste)
- time for photos and on-site eating
That’s the real value: your money buys an experience with a finished result you can actually consume. You’re not paying just for entertainment. You’re paying to learn a skill, get ingredients, and leave with something satisfying.
What’s not included is also clearly defined:
- Take-out box: 100 JPY
- Completion certificate: 300 JPY
- Tatedashi matcha: 500 JPY
If you’re the type who likes keeping proof of activities, the completion certificate might be your extra. If you’re just there for the food and fun, skip it and focus on the sweets.
Language reality: how to make the class work even if English is limited
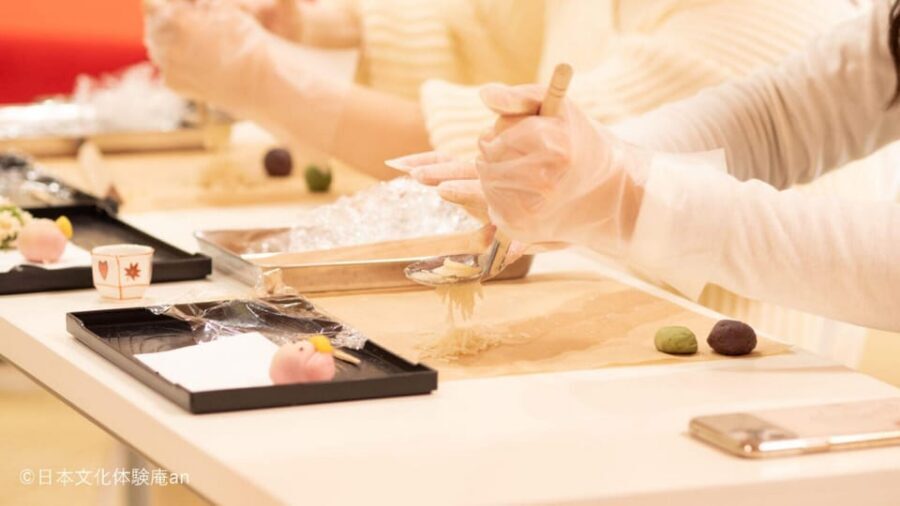
The instructor is Japanese, and English translation is provided as much as possible. That’s helpful, but it also means you should plan for moments when words don’t fully land.
Here’s how to set yourself up for success:
- Watch the shaping steps closely, especially during flower and kinton stages.
- Ask questions when the instructor pauses for guidance, not when you’re already in the thick of shaping.
- Don’t stress about perfect wording. With Nerikiri, a lot of learning is visual and hands-on.
In practice, you may find the instructor can’t be at every table every minute, especially when multiple people are working. The good news is the class is structured, so you still get where you need to go. You just need to lean into the “do it with your hands” rhythm.
Is Nerikiri shaping for you? Best-fit travel styles
This workshop is ideal if you want a Kyoto activity that feels local and edible, without requiring a half-day or a full-on course.
You’ll probably love it if:
- you want a short class you can slot into a busy Kyoto schedule
- you like Japanese sweets and want hands-on context
- you enjoy making something and then tasting it immediately
- you’re traveling solo or in a group that wants a calm shared task
It also seems approachable for a range of ages. The structure of two finished sweets means you’re not stuck making one complicated item for hours.
If you’re the type who hates stairs or needs an elevator, plan around the building setup first. And if you require very detailed instruction in English, do a quick check of your own comfort level with visual learning.
Should you book this Nerikiri workshop?
I’d book it if you want a high-payoff, low-time Kyoto experience: two seasonal sweets, Kyoto bean paste, photo time, and the chance to eat what you make. The value is strong because the class ends with satisfaction, not just a craft project you carry around.
Skip it only if you strongly prefer very long, lecture-style learning—or if you absolutely need constant English step-by-step support. Otherwise, this is one of those rare activities where the “result” is the point, and the result goes straight into your hands and mouth.
FAQ
How long is the Nerikiri making experience?
The experience lasts about 65 minutes, including explanation, making two sweets, picture time, and eating time.
What sweets will I make during the class?
You’ll make two seasonal Nerikiri sweets: a flower-shaped Nerikiri and a Kinton Nerikiri.
Can I eat the sweets on the spot?
Yes. There is an eating time at the end, and you can eat the sweets you make during the workshop.
Is there English help during the class?
English translation is provided as much as possible, and the instructor language is Japanese.
Where is the meeting point?
Meet about 1 minute walk from Exit 1 of the Karasuma Line Gojo Station. The store entrance faces Gojo-dori.
What is not included in the base price?
Not included extras include a sweets take-out box (100 JPY), an experience completion certificate (300 JPY), and tatedashi matcha (500 JPY).